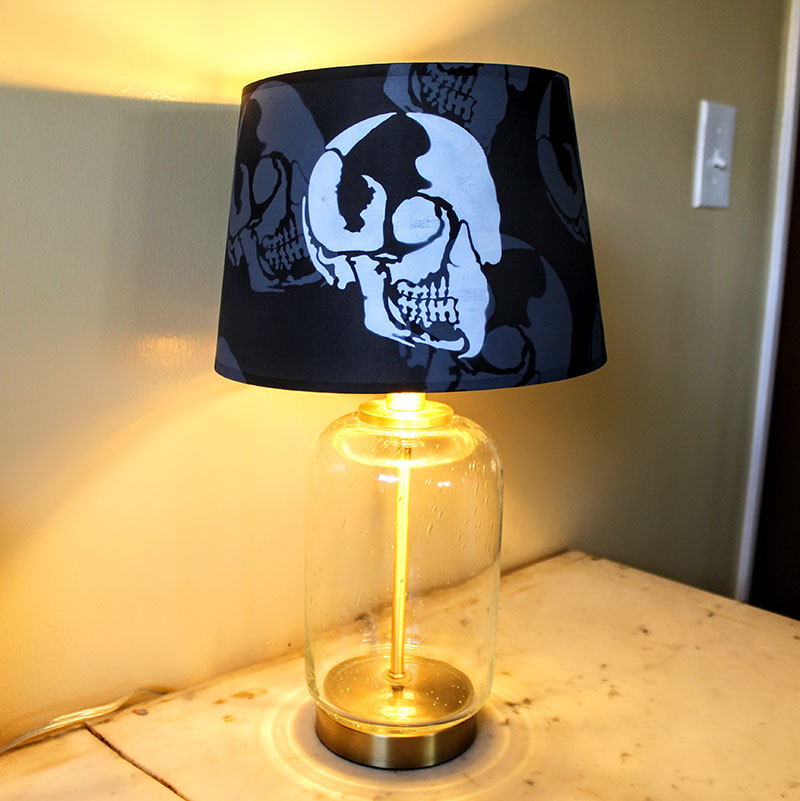
Today we’re going to show you how to make a rad skull lamp just in time for Halloween.

Here is what you will need:
- Lamp
- Stencil 1 Skull Profile Stencil – Small (5.75”x6”)
- Liquid Fabric Paint
- Painters tape
- Low-tack adhesive stencil spray (not shown above)
- Air Brush.

Start by applying painters tape around all four edges. This will help to block overspray, as well as keep the stencil in position.

Lightly spray the back of the stencil with stencil adhesive. You can recoat as needed throughout the project.

Now remove the lampshade, position the stencil for your first skull, you can offset and position at random.

Load your airbrush gun with your grey paint, dilute if needed. Spray your first skull. You might need multiple coats depending on how your paint and fabric react with each other.


Reposition and paint in a new spot, make sure to let skulls dry between repositioning. Also reapply stencil adhesive to the back of the stencil as needed.


Repeat this process until the entire lampshade has been filled.

Once all the grey background skulls are complete and dry, position the skull stencil in the middle of the shade. Using your white paint, spray over the stencil. Make sure to spray a few coats so that the white will really pop.

Now you can reattach the lampshade and you’re all done. This How-To was brought to you by ART one, a Los Angeles based Street Artist. You can see his art @art_o_n_e
Please share your version with us @Stencil1


