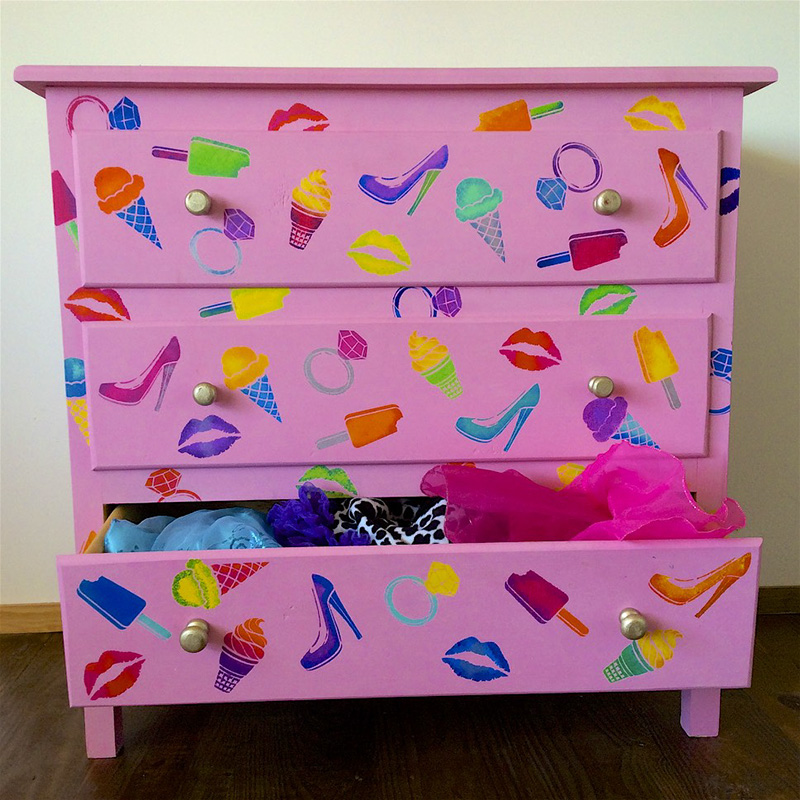
We are thrilled to present this post! This how to is by guess artist Marisa Pawelko, Modern Surrealist. Thank you Marisa!
Take kids furniture to new heights with soaring stilettos, sassy smooches and sumptuous frozen treats! Stencil1 has a wide variety of motifs to represent your little ones individual sense of style! Switch up the colors for an ultra customized look!

What’s needed:
- Unfinished Wood Dresser or Thrift Store Find
- Stencil1 Ice Cream Stencil 4-Pack
- Stencil1 Diva Stencil 4-Pack
- Assorted Acrylic Paint
- Stencil Paint Brushes
- Tape
- Egg Crate or Painters Palette
- Bowls Warm Water Sponge
- Dish Soap
- Garbage Bags or Drop Cloth
- Paper Towels

Select your stencils and start by preparing your workstation by protecting the floor with a drop cloth or some garbage bags. Load up your painter’s palette or egg crate with the stencil paint colors of your choice. Keep some bowls of water handy for rinsing brushes and cleaning stencils as needed.

The first step is to begin by painting the entire dresser with the background color of your choice.

Next, start by stenciling the drawer fronts. Gently tape the first stencil in position onto the drawer front.

Dab a small amount of paint onto a stenciling brush. Remove any excess paint by dabbing the brush onto a paper towel. When stenciling, use the paint very sparingly to achieve a nice crisp design.
Pounce the brush gently over the stencil until the design is fully covered.

Rinse the brush before changing colors. Handy Hint: To save time use several brushes at once, one for each color.

Load up your brush with another color to accent the edges of the stencil design and add dimensional details or color blocking. Continue this process with as many colors as you like.

Gently remove the stencil to reveal your awesome design!

Gently wash your stencils as needed with a sponge in a bowl of warm soapy water.

Continue this process until you’ve covered all the drawer fronts with colorful designs.

Once you’ve covered the drawer fronts with stenciled designs, add even more stenciled designs to the areas between the drawers.

Continue this process until you’ve covered the top and both sides of the dresser with awesome designs. Let all of the paint dry, and then put the drawers back in the dresser. Now you are ready to enjoy your fabulously funky fresh new dresser!


Thank you again to Marisa for this fabulous project. Oh and special thanks to her adorable daughter for adding joy to these images, what a cutie! Please share your furniture flips with us @stencil1 THANKS!


