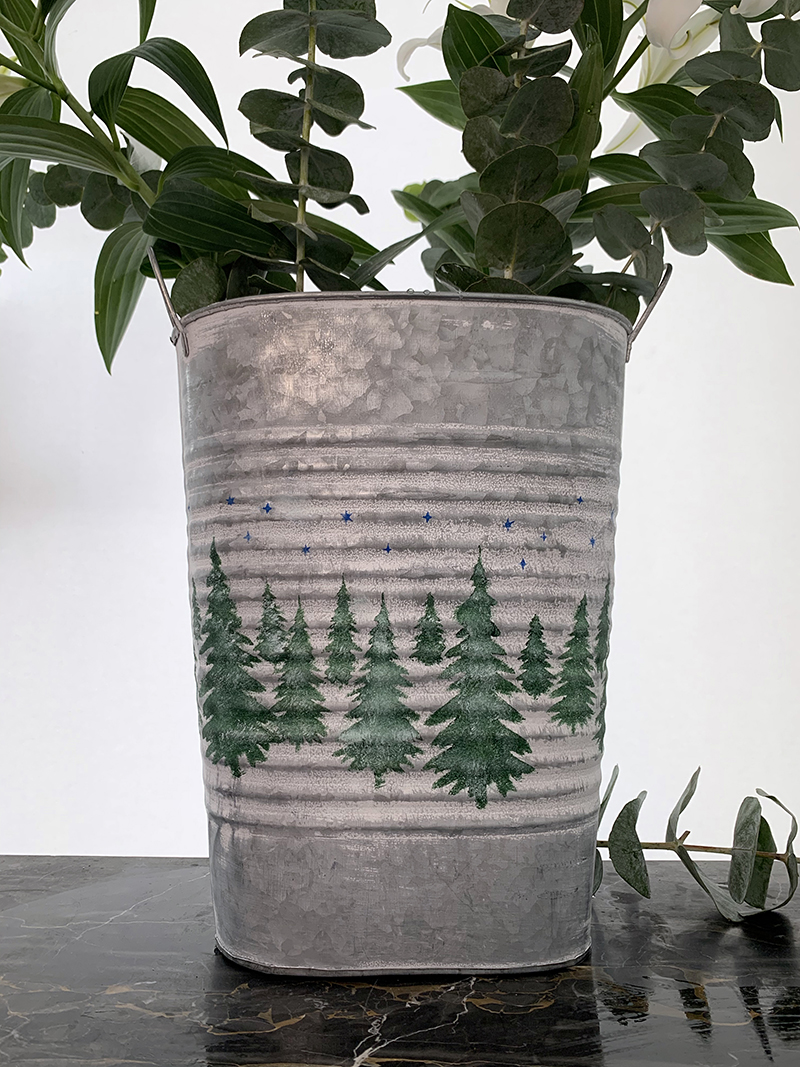
This Winter, I think we all want to cozy up and stay creative. Here’s a DIY that will uplift your home with some holiday decor, a stenciled tin pail customized for the holidays!
This tin pail was purchased at a craft store. it has a ridged surface but you can still stencil a bumpy surface with the right technique. Follow along and see how to create this stenciled pail, great for a holiday centerpiece!

What you will need:
- Tin Pail
- Evergreen Forest – Small (5.75″ x 6″)
- Painters Tape
- Low Tack Spray Adhesive
- Stencil brushes
- Acrylic or multi-surface paint in Green Blue, and white
- Plate for paint

The Forest Repeat stencil can wrap around the pail beautifully so every angle of this centerpiece looks festive.
To start, spray some low tack spray adhesive to the back of the stencil and let dry for 30-60 seconds.

Place the stencil on the pail, centered. Tape in place as well. This helps to hold the stencil in place and to not paint outside the edges of the stencil.

Next, using a dry brush technique(very little paint) apply green paint throughout the design until filled in. Usually, this takes 2-3 built-up applications.


For a bumpy surface, be sure to use an up and down tapping motion especially at the edge of the design. Let the green dry but keep the stencil in place.

Then, take a new brush with white paint on it. Use very little paint and dry it off a lot on the plate. Tap very tightly to apply a snowy effect to your green trees.

Finally, paint in your tiny stars with a small stencil brush and blu paint. Again, a tapping motion will fill in these little openings.

Peel the stencil off, make sure your paint is dry, then move the stencil over to repeat the design. Yes, the stencils can curve around surfaces!

You can re-apply spray adhesive to aid in holding the stencil down. Once the entire pail is covered, let dry. Optionally, you can spray the design with a clear lacquer.

Fill with a Winter arrangement and place it as a centerpiece or on a shelf for some tasteful holiday decor.


