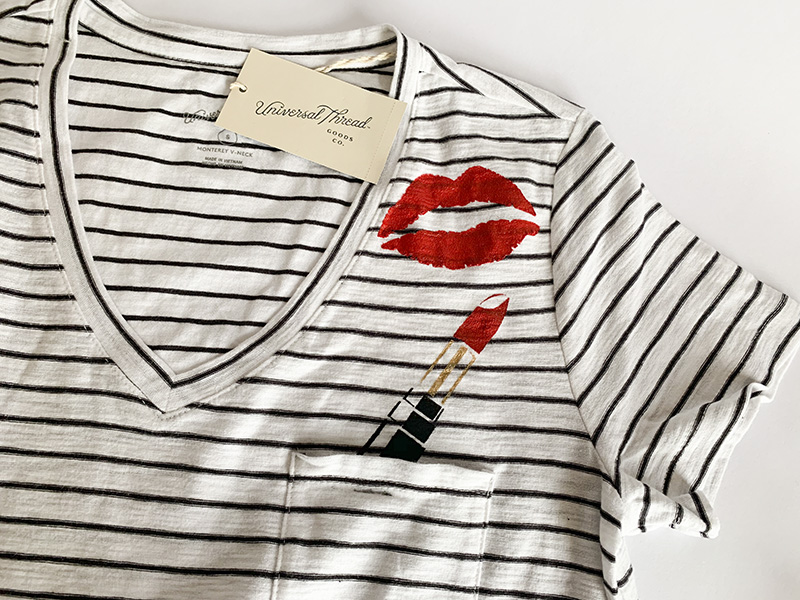
A classic striped shirt from Universal Thread at Target just got even cooler with this lipstick and kiss stenciled embellishment.

We used the Diva 4-pack set, available at Target for this stenciled top DIY.

Start by inserting cardboard inside the shirt. Make sure it fits just right, don’t stretch the shirt too much or you will warp your design.

We wanted the lipstick to appear as if it’s in the pocket so we taped down the pocket to paint inside it a bit…

Next, place the lipstick stencil where you want the design to appear.

A few pro tips: Use small stencil brushes for designs such as the lipstick stencil as it will allow you to change colors for different areas and not color outside those areas. And pro tip #2, always use very little paint, it’s better to build up a few layers until the stencil design is filled in nicely rather than use too much paint and get blurry results with paint seeping under your stencil.

Oh yea, if the design is close to the edge f the stencil, place a piece of tape as a block so you don’t paint outside the stencil area!

Dry the lipstick design and place and paint the lips next. No need to wait for it to dry, lift up your stencil and see your work!

How hot is this top?! Wear it proud and send us your stenciled t-shirt images to @stencil1 so we can share them on the blog!


