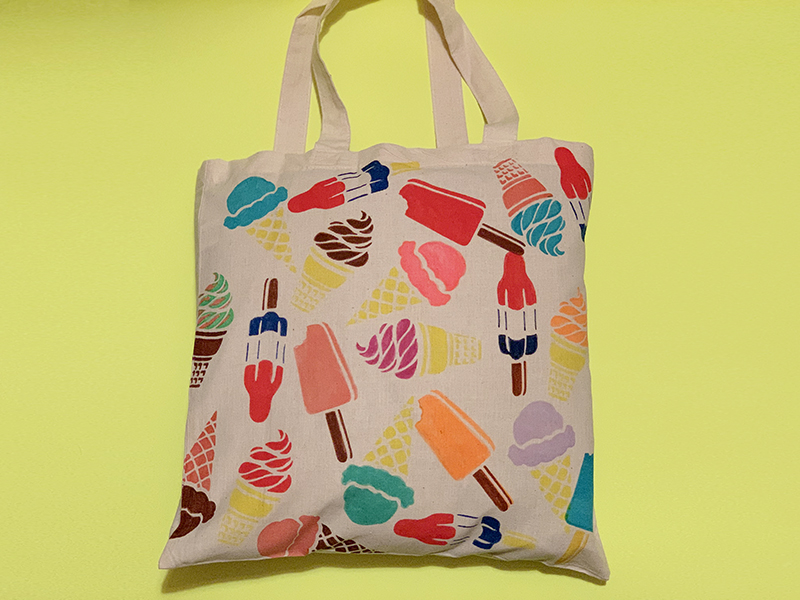
You can use any fabric. Here I used a beige canvas tote and here are the ice cream stencils.

The materials you need are stencils, a tote, fabric markers and masking tape.

First step is to tape your stencil where you want to create the image.

Next, color in with your fabric markers, start with the outline using the point of the marker and then color inside of the outline. We love using markers because it makes projects like this so easy.

Color until the inside of the stencil is full. We used red for the ice cream and yellow for the cone.

Double check the filling of the stencil before removing the placement of the stencil from your created image.

There you have it, you have very easily created your ice cream cone! You can now add as many images you would like from our various ice cream stencil options.

Remove your stencil to reveal your work.

That’s one happy tote bag! Please share your stenciled creations with us at @stencil1


