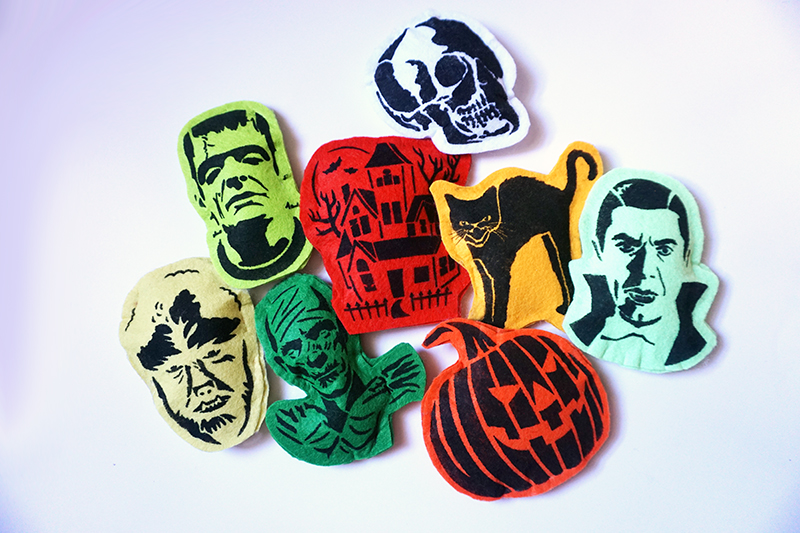
This genius idea is right out of the brain of Jennifer Perkins, seriously one of my favorite crafty women. Austin-based, collector of kitch, and great energy, she thought up this use for Stencil1’s Halloween stencils – felt ornaments! Now, Jen is a Halloween FREAK, she has a darn Halloween Tree! Yea, like Christmas but Halloween! See her how-to on her site here.
This felt set comes from Target in their Handmade Modern Collection. You get a nice colorful stack of it!
Start by placing your stencil on a piece of felt.
Use fabric paint and a stencil brush with very little paint to fill in the design.
With felt, you may need 2-3 coats. It’s so textured and absorbant.
Lift the stencil, nice work!
Let the design dry. You can use a hair dryer to speed that up.
Now cut out the design, leaving space around the design areas.
You have the top layer done.
Now trace that shape onto another piece of felt.
This is a no sew project – use fabric glue and glue the edges together but leave an inch or so opened so you can stuff the felt ornament. You have to let the glue dry for at least a few hours and then you can stuff the ornament with pillow stuffing from a craft store.
Then glue the opened area together and clip with a clothes pin or office clip as pictured here until dry.
To see all of Jennifer Perkins creations and details on her DIY of the Stencil1 Monster ornaments go to her website, she even has a video of this project.
Please be sure to share your Halloween creations with us @stencil1


