
Getting a jump start on your holiday crafts is easy when you use stencils. You can make multiple gifts and decor items using one stencil.
What you will need for this project: green and red acrylic paints, a wood slab, stencil brushes in 2 sizes and the Happy Holidays stencil. The wood slab can be found at any craft store. You can also use low tack adhesive spray to secure the stencil in place.

Start by placing the stencil and securing it in place with painters tape or adhesive spray on the back of the stencil so that it will not move.

Pick up some acrylic paint with your brush and be sure to remove excess paint from the brush on a paper plate, stenciling is a dry brush technique. Begin by patting the brush onto the stencil and continue until the open areas are completely covered.

Use a smaller brush to paint the small sections of the stencils. Be careful to not accidentally smudge other sections of your artwork.

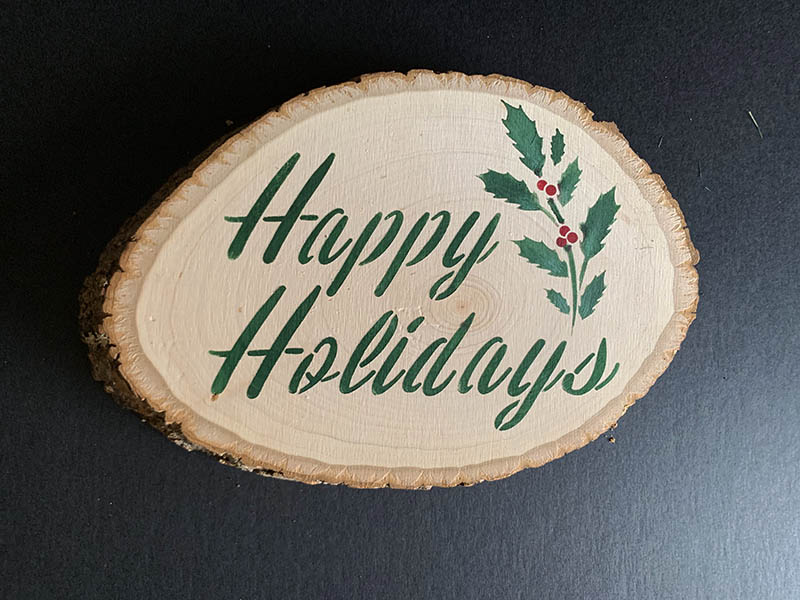
Once you are done, remove the stencil to reveal your work.

Now you are ready to start celebrating with a simple homemade holiday decor piece. Happy Holidays! Please share your Stencil1 creations with us @Stencil1

