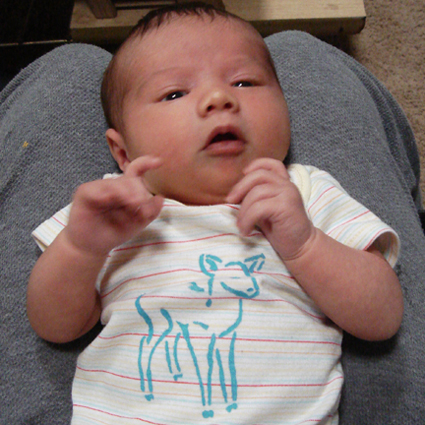
Stencil1 nature stencils and our acid-free multi-surface inks in action
Break out the magnifying glass! We are now offering even smaller stencils for you. Use these mini stencil sets with themes like Nature, Patterns, Urban, Birds, and more to create greeting cards or artist trading cards or even small tasteful embellishments on clothing! The application is strictly up to your imagination! These stencils work ideally with our Stencil1 Ink Sprayers which are multi-surface sprays perfect for paper and fabric!