Sometimes stenciling doesn’t have to mean re-creating a perfect image from the cut design. Using watercolors and layering can produce some interesting results, rich with depth.
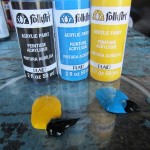
I first brushed with watercolor paper with some watery blue colors for my sky. Then, I stenciled using my small evergreen tree design, first in mid tone green. Then once it dried, I stenciled over it with less watery paint in a darker color.
Bob Ross, eat your heart out!


The Folk Art crackle medium for me, is like finding the holy grail. I just love an aged finish. I find such inspiration in urban landscape and decay and with this stuff, I can re-create that worn, weathered look.
Here’s how I did it – First, I painted a wood board dark brown and let it dry. Then I coated the brown painted board with the crackle medium and let that dry. Next,  I painted over the board again with a light cream color.

Immediately, I saw the paint bubbling and spreading apart.

I LOVE the results and decided my typewriter stencil would be appropriate for this worn looking surface. I stenciled the typewriter design in a very dark blue, nearly black paint.

I then found a nice home for it on my shelves with my books!

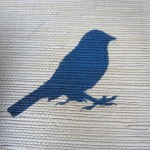
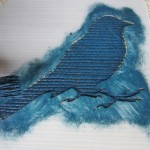
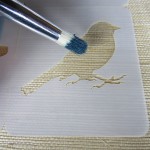
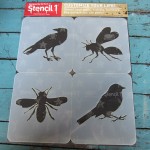
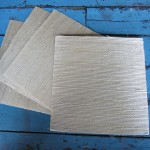
I love to paint on surfaces that already have wonderful texture and a beautiful finish. Grasscloth is one of those surfaces. It’s natural, beautiful, and affordable. I cut some small squares of the cloth and using a few folk art paint colors I love, I stenciled these birds and bees stencil designs. These could be framed and made into wall art or varnished and used as coasters.

I am seeing so many colorful wingtip shoes for guys. Two-toned, colorful soles, color is not just for the ladies anymore! So I grabbed an old suede pair of wingtips I had, mixed some folk art blue paint with medium textile, and voila! I just painted in the separated sections! easy. Can’t wait to wear them!


Chalkboards are so trending right now, I see chalkboard projects everywhere. I wanted to do some layering effects on the board and make it useful too. Also, I am a list person and creating this board will save me paper!
Here’s how I made my To Do board:

First I took a wood art board and poked two holes in it so later I could string it with twine to hang.

I then painted the board with Chalkboard paint. I used traditional black. I painted two coats.

Once that dried I stenciled the words “to do” on the board using my Corsiva alphabet stencil.

I wanted my to do board to be fun so I used my birds on wires to add these little guys and the lines function as areas to write. I stenciled using very little white paint to make it look like chalk but not be erasable. Once that was dry, I conditioned the board with some chalk. You have to rub chalk all over the board then erase it. Otherwise, when you write on your board, it may show permanently what you wrote.

I then strung some twine to hang the board. Hung, chalk ready, and time to write my list!


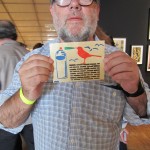
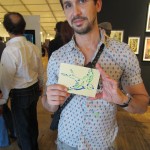
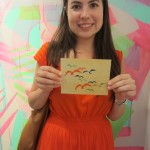
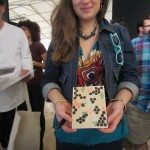
Stenciling cards = fun. Stenciling wooden postcards = WAY MORE FUN! There is something so impressive about receiving a wooden postcard in the mail. Stencil some wooden cards and snail mail them to your besties.
Look at how happy these people are with their cards!