Spring is right around the corner! Why not celebrate the warm weather by having a spring-themed dinner? Whether you invite your friends over or it’s just dinner for one, this table runner will inspire you to have a delicious spring meal!

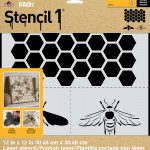
To make this table runner you will need: a roll of craft paper, paint, Honey Bee stencil set and stencil brushes.

Step 1 Start by measuring your table and cutting the paper. You want the piece you cut to be slightly longer than the table so that your table runner hangs over the table on both sides.

Step 2 Roughly decide where you want to stencil the hexagon pattern and the bees. Have fun playing with the interaction between the stencils and your utensils. Try overlapping your bees and honeycombs or surrounding your centerpiece with bees.

IMG_0405

Step 3 Stencil the hexagon pattern using a stencil brush and paint. Remember that stenciling is a dry brush technique. So use very little paint and apply several layers.

IMG_0409

Step 4 When you’re ready to stencil the bee, start by stenciling the silhouette of the bee using a dry brush technique. Once that layer is completely dry, stencil the detail layer over the silhouette.

IMG_0412

IMG_0410

IMG_0411

Show us what your table runner looks like @stencil1!

IMG_0415

Show us what your table runner looks like @stencil1!


Stencil1, Inc is pleased to announce the new release of an all new stencil line with Plaid Enterprises and their brand Folk Art. AVAILABLE 3/28/14 in Joann Fabrics and other art supply stores.

“This is the first time I have licensed my designs to a large craft company and I am excited to work with a leader in the craft industry.” Says Roth, “ They make Mod Podge and Martha Stewart products, I am in good company. I will now reach a larger audience and that is super exciting. ”

Plaid Enterprises, Inc., is one of the world’s largest, most diverse manufacturers of creative do-it-yourself products.

Check their site here –  http://www.plaidonline.com

The initial release will be a select collection of larger stencil sets(12” x 12”) and small repeat patterns(6” x 6”). The larger sets contain patterns mixed with icon, all designed to create projects that have depth. There are also group sets with themes with 3 or more designs.

“The inspiration for the new collection is nature, street art, modern and eclectic décor and how to combine all of that into a layered beautiful end project.”

All stencils are laser cut with intricate details and almost a photographic quality.  The mylar material is washable and reusable.

They work great with Folk Art acrylics and Folk Art multi-surface paints are ideal for so many surfaces such as concrete, wood, canvas, metal, or glass.

102413_STEN_britsc

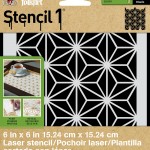
102413_STEN_Asian-Star

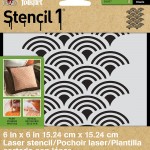
102413_STEN_Scallop-pillow-pillow

102413_STEN_wood-floor-mat-1a

The packaging of the new line features beautiful photographs and step-by-step info of very current projects for inspiration. The stencils can also be used to customize walls, fabric, paper projects, anything you can stencil.

Be sure to check out the projects we made with the new designs:

The stencils are currently available in major craft stores and online at plaidonline.com and joann.com

Stay tuned as more designs will be releasing in August 2014.

For images for press, samples, or wholesale info please contact us
or
Kyra Balentine

Stencil1 takes on a new tool—clear stamps! Stencil1 Clear stamps, also known as acrylic stamps, are easy to use and similar to rubber stamps. You just peel the clear stamp off it’s backing, attach it to a clear stamp block, and stamp away!
Step1 Step2 Step3 Step4 Step5

This new collection of 8 clear stamp sets are designed to layer and create fun combinations of icon with pattern. Stars, skulls, anchors, repeat patterns, endless possibilities. They are ideally sized for card-making, paper projects, as well as clothing and sneaker embellishment. Hampton Art manufactures high quality clear stamps as well as many other craft industry products.

Stencil1 Clear Stamps are available for sale now! Follow the link to view photos of all available stamps and to check out how they look printed!


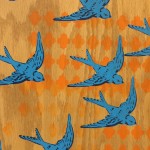
boombox_birds

SC0636-Quatrefoil-Birds-and-Music


Having your friends over for a drink?  Make all your guests feel like a star by serving their drinks on this fabulous tray we made using our star stencil, a part of a set from our new Stencil1 stencil line!

You’ll need a wooden tray, multi-surface paint, stencils and stencil brushes.

Step 1: Make sure that the tray you are using is not coated. If it is, just sand it down a bit before painting.  Start by roughly deciding where you want to stencil the tray. We decided to do several stars, evenly spread out.

7

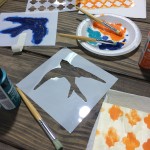
Step 2: Place down the stencil and begin to paint it. You can secure the stencil onto the wood with tape or simply hold it down with your hand. When painting, use a dry-brush technique. This means you are using very little paint and applying several layers.

6

5

Step 3: Finish stenciling the rest of your tray. If you need to overlap a painted star to stencil a different part of the tray, make sure the paint is completely dry to avoid smudges.3

4

2

Step 4: When you are done stenciling allow the paint dry. You can use a blow dryer to speed this up. Lastly, make your drinks and assemble them on your new tray! Don’t forget to share your pictures with us @stencil1

1


toppic_stencil1

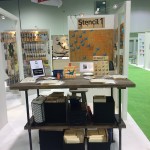
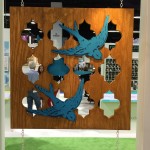
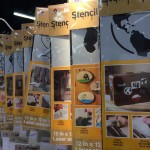
One year ago, I began chatting with Plaid Enterprises about licensing my designs to create a line together. Well, cut to January 2014 and I am psyched to announce my new Stencil1 Plaid-FolkArt stencil line!  These new designs are so bold and graphic, and many are designed as multi-layered. I demo’d this process in my booth at CHA (Craft and Hobby Association tradeshow). Oh my booth that the Plaid peeps totally customized Stencil1 style – built a reclaimed wood and plumbers pipe table, hand jig-sawed some Stencil1 patterns and birds for more DIY décor, my booth just stated what I am all about- old meets new, industrial chic.

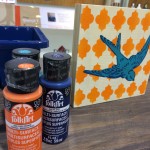
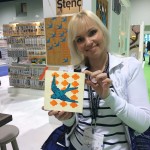
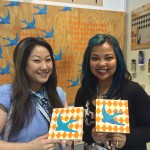
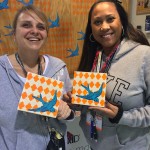
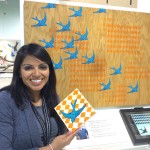
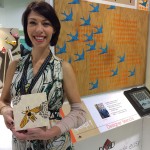
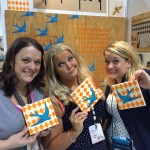
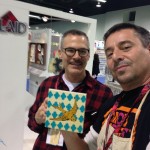
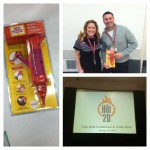
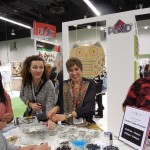
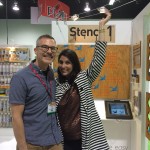
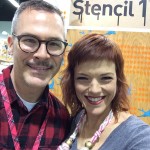
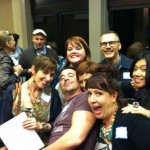
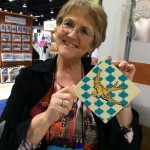
So,  I met the greatest people all day and it seemed to me that everyone really enjoyed the layering process. Here’s some pics of the happy crafters:


I shared the Plaid booth with the amazing Cathie & Steve and their new Mod Podge products. They introduced the world to the deco den trend and scored some design awards for their MOD MELTER. Inspiring!

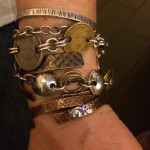
Also to my side, was Candie Cooper, showing the gals how to make some on-point jewelry. Look at this pic I took of Candie’s handmade talents:

Then, Pinterest genius and ball of energy Rachel Faucett of HANDMADE CHARLOTTE was demo’ing her new stencil line on silk scarves. This release she focused on world culture influence, pattern, beautiful stuff! She also has these cutesy wood stitchables I need to get my hands on. Oh and some highly usable sticky backed stencils for stenciling rounded surfaces like glasses, clay pots, and other not so flat surfaces!

Rachel


I was visited my NY gal Erica Domesek of PS I Made This and we reminisced. Also got a hug from the genuine, and ever knit-savy Vickie Howell. I wish I had a pic of her loose yarn necklace, I’ll bug her for a shot of it.

I met store buyers, shop owners, crafters, locals, and travelers and had such a great time hearing each person’s connection to the industry.  Some even called me Big Daddy, those in the know of the legendary Ed “Big Daddy” Roth.  At night, I got to see some good old friends of whom have supported me for years including craft wife Jaderbomb and ever generous and supportive Jen Perkins as well as meeting new one’s – artists, crafters, business owners, and bloggers – all so excited to talk shop. We are all so fortunate to work in a creative field!

CHA was such a success and you will soon see the line out in major art and craft supply stores as well as on Stencil1.com   To think of my designs reaching more people is very humbling, I hope you enjoy !