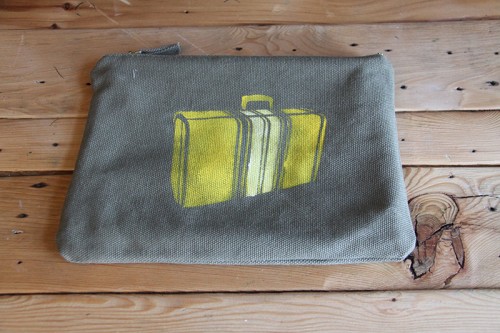
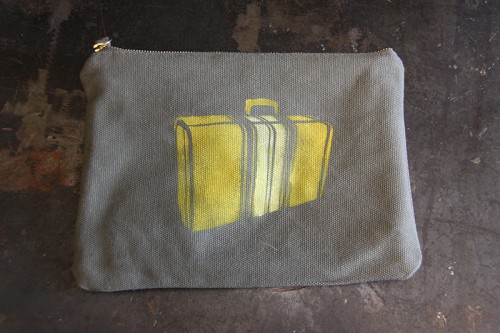
Everyone loves to travel. You get to meet new people, see new places, taste new food and form new memories. Our Stencil1 Travel Kit was inspired by our love for travel, so we used the suitcase stencil to personalize this gorgeous toiletry bag from West Elm.

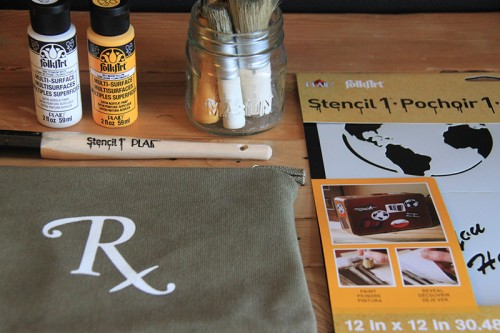
For this how-to you’ll need: Stencil1 Travel Kit, West Elm toiletry bag, multi-surface paint, stencil brushes and a painter’s tape.

IMG_5949

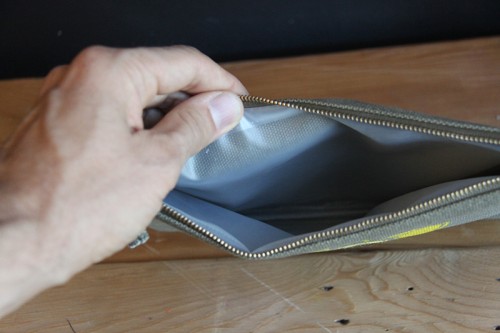
We love this West Elm toiletry bag because it is waterproof. You don’t have to worry about something spilling and soaking through the bag. And, as an added bonus, you don’t have to put a cardboard insert inside to stencil it!

IMG_6001

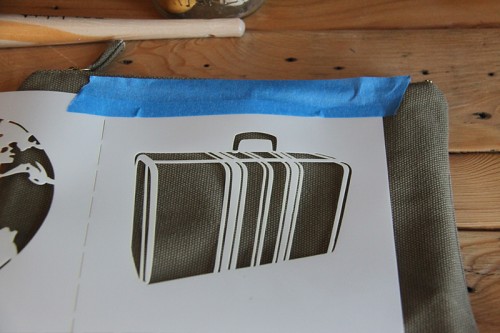
Step 1:  Place the stencil on the bag and tape it down with painter’s tape. You can also spray the back of it with a low-tack adhesive.

IMG_5975

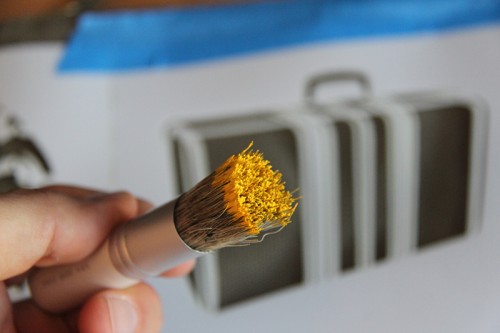
Step 2: Pour some pain on a plate (or any hard surface). Dip your paint brush in the paint. Remember that stenciling is a dry brush technique. This means that you only need a little bit of paint to stencil.

IMG_5978

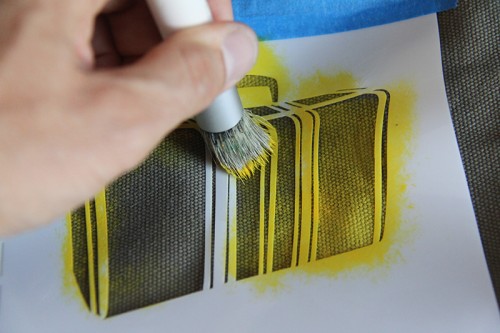
Step 3: Use the brush to stencil the toiletry bag. We used moon yellow FolkArt paint. Paint with a circular motion or an up-and-down dabbing motion.

IMG_5982

Step 4: Lift the stencil and allow the paint to dry to touch. Heat seal it with an iron.

IMG_5992

Show us what your travel kit looks like! @Stencil1
IMG_6006


The quickest and most convenient way to get around in Brooklyn is biking. Which means biking culture is constantly expanding in the city. This inspired our Stencil1 bike set and we thought it would be fun to use the stencils on a helmet. Try this with your helmet and show us your results @Stencil1
This is what you’ll need for this how to: Stencil1 Bicycle set, a helmet, stencil brush, multi-surface paint and painter’s tape

Stencil1_BikeHelmet_1

Step 1: Tape one of the bike stencils on the helmet using painter’s tape.

Stencil1_BikeHelmet_2

Step 2: Pour some paint on a plate and dip your stencil brush in the paint. Remember that stenciling is a dry brush technique, which mean using very little paint and applying multiple layers.

Stencil1_BikeHelmet_3

Step 3: Use the brush to stencil the helmet painting in a up-and-down or circular motion.

Stencil1_BikeHelmet_4

Step 4: Lift the stencil and allow the paint to dry to touch.

Stencil1_BikeHelmet_5

Step 5: Repeat the same steps to stencil the other side of the helmet with a different bike.

Stencil1_BikeHelmet_6


Stencil1_BikeHelmet_7

Snap a picture and show us what your helmet look like!


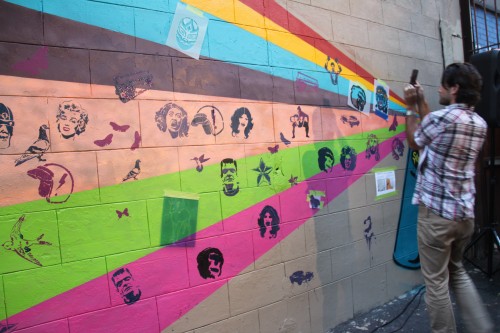
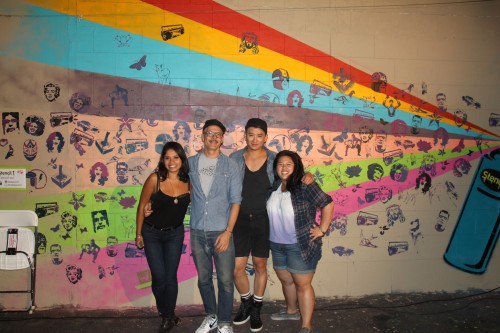
This weekend we were part of Grove Alley Paint Nite, hosted by Downtown Brooklyn. It was a night filled with delicious food, great music, awesome people and amazing art!

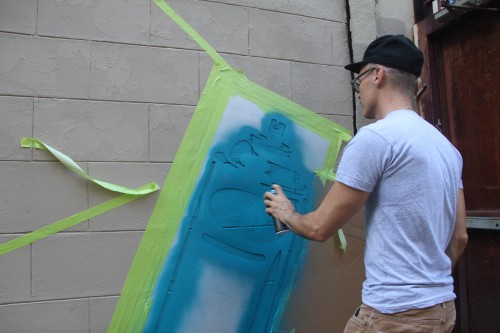
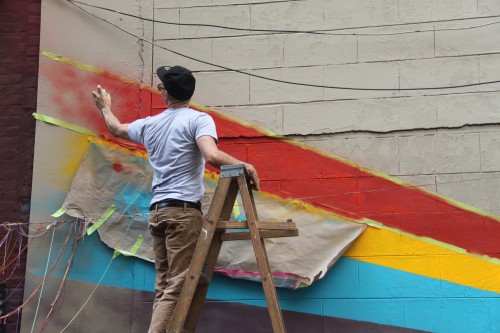
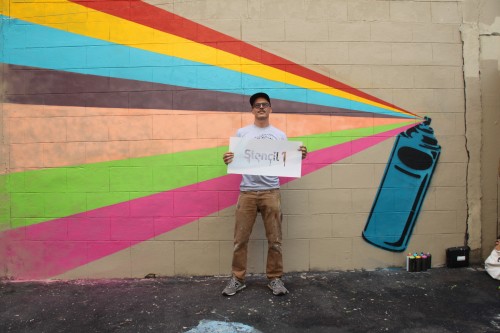
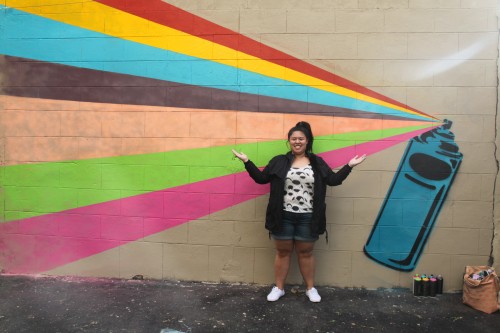
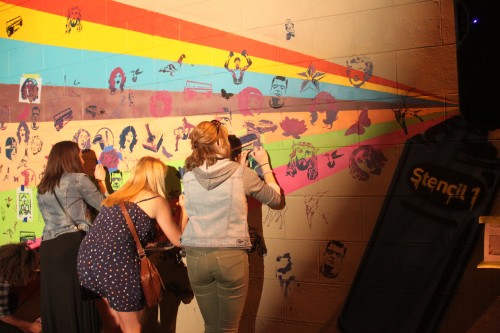
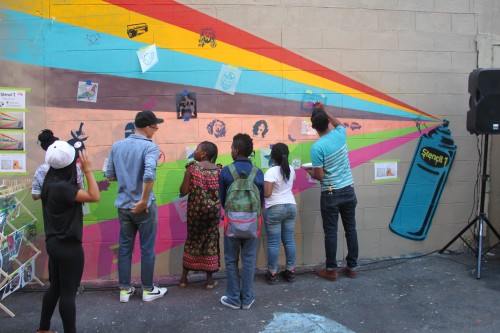
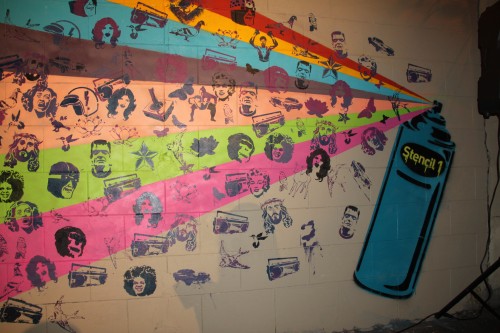
We prepped for the event by painting a base mural the day before the event.  We created a mural of a huge spray can blasting out bright, beautiful colors. The night of the event, all the crowd got to become stencil graffiti artists, adding our Stencil1 imagery to the mural, appearing to spray out of the spray can as well! Our goal was to paint a mural that everyone could be a part of. This was the first of an interactive D.I.Y mural series we have been working on, designed with the goal to create one final image as a group.

The overall goal is to create community, perpetuate creativity and overall happiness!   Look out for more Stencil1 group murals in the future!

IMG_6729

IMG_6858

IMG_6871

IMG_6867

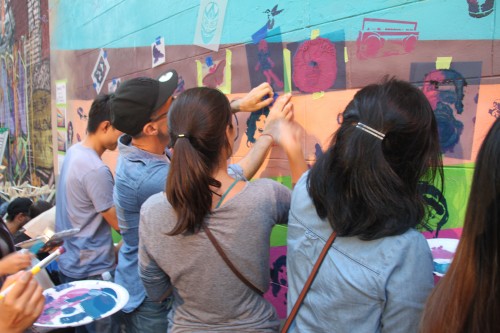
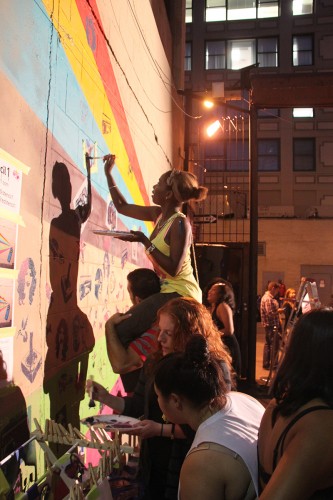
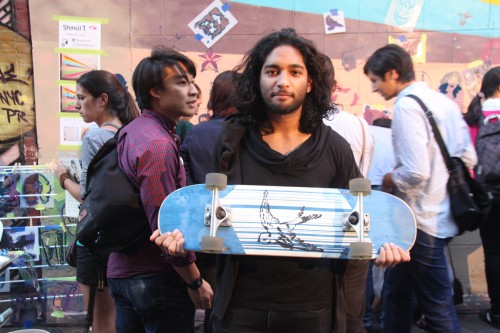
We were so happy to see how excited everyone was about stenciling together. We had artists of all ages contribute to the mural. You guys painted in groups, by yourselves and even sitting on each other! We all had a blast and wanted to keep stenciling all night!

IMG_7022

IMG_6997

IMG_6981

IMG_6973


IMG_7014


IMG_6929

IMG_7005

Everyone who stopped by our table got to pick a stencil and paint it on their favorite spot on the wall! From the design and color of the paint to the spot on the wall you guys made all of the decisions and created a mural that rocks!

IMG_7101

This event brought out the artist in everyone. It was the perfect way to celebrate art and creativity. We want to host many more events like this in the future and are excited to share them with you! Check out more information about Grove Alley here.

IMG_7096

IMG_7106

In an effort to host more free, community building events like this one, we’ve are trying to run for the Chase Mission Main St Grants for small business. Please help us contend by voting for us here! Thank you!

If you were at the Grove Alley event and took pictures with us, please share them with us @Stencil1


new-michaels-celebrity-week-Stencil1


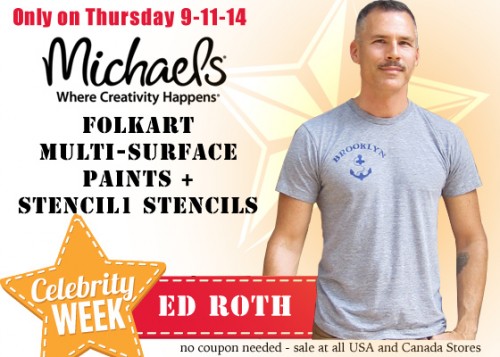
It’s Celebrity Week at Michaels which means 7 days of sav­ings for you! Today is OUR day and we’re bounc­ing off the walls because we can’t wait to share our prod­ucts with you. Get 40% off Stencil1 Sten­cils and FolkArt Acrylic Paints today only! You can visit any Michaels store in the US or Canada. No coupons necessary!


Michaels


At Stencil1 we love West Elm because they have tasteful items that are perfect for stenciling. Whether it’s their furniture or their kitchen items, their products always captivate us. So, we visited the West Elm Market in Brooklyn, NY for a little inspiration.  We were drawn to their cloth napkins and woven placemats so we brought a few back to our studio. Check out what we made!

For this how to you’ll need: Stencil1 Damask Nature 11 x 11 stencil, West Elm Center Stripe Woven Placemat Set, West Elm Woven Napkin Set, multipurpose paint, and stencil brushes.

Step 1: Decide what colors you want to stencil with. Chose a color based on the palette of the placemat and napkin you are stenciling. You may decide to choose a color that will pop against the napkin or one that is more subtle. We chose an earthy brown called burnt umber to compliment the blue stripe on our placemat.

Step 2: Place the stencil on the placemat so that it is centered.  When stenciling on cloth, it is helpful to spray the back of the stencil with a low-tack spray adhesive. This will prevent the stencil from moving while you are painting.

IMG_6046

Step 3: Pour some paint on a plate and dab your stencil brush in it slightly.  Brush excess paint off on cardboard or toilet paper. Stenciling is a dry brush technique, this means using very little paint. You can apply several layers of paint to make the color more saturated.

IMG_6056

Step 4: Begin stenciling the placemat using and up-and-down or circular motion.

IMG_6061

Step 5: Lift the stencil carefully and allow the paint to dry to touch.

IMG_6154

Step 6: Now that your placemats are ready, it’s time to make matching napkins! We placed the stencil so that the sparrow is at the bottom of the blue stripe, slightly overlapping into the white area.

IMG_6072

IMG_6089

Step 7: Follow steps 3 through 5 to stencil the sparrow on the napkin. Do this for all four napkins.

IMG_6088


IMG_6099

Step 8: Use an iron to heat seal the paint.

IMG_6158

Enjoy dinner with a nice glass of wine and snap a photo of your placemats and napkins to share with us @Stencil1.