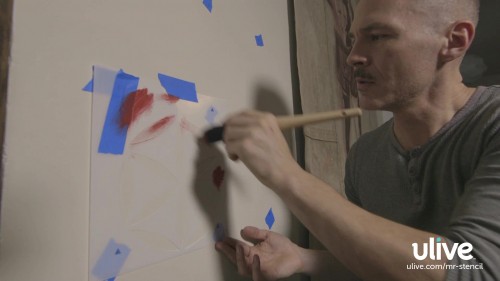
All of our stencils are designed to repeat or tile to form a larger pattern that is similar to the look of wallpaper. Unlike wallpaper, you have endless design possibilities with stencils.  The small triangular cutouts function as registration marks to help you accurately align the stencil for repeating over a large surface.

Follow these Stencil1_RepeatPattern_Instructions or watch our Ulive how-to video to learn how to use our stencils and make a great accent wall in your home!

Shop Product of the Year stencils and tools here!
mrstencil7-500x281 (1)


Picking out ornaments for the tree is one of the best parts of the holidays. Make it extra special and exciting this year by making your own ornaments!

For this how-to you will need: Stencil1 Traditional Ornament Kit, multi-surface paint, stencil brushes (or sponge) and string.

Step 1: Choose one of the shapes and pair it with a stencil. We chose the deer ornament and the stripes stencil.

IMG_8351

Step 2: Paint the ornament a solid color. Make sure to paint the edges as well. Let the paint dry off completely.

IMG_8353

IMG_8376


Step 3: Place the stencil on the ornament. Stencil using a dry brush technique. This means stenciling with very little paint and applying multiple layers. You can use a stencil brush or sponge for this step. We decided to stencil with multiple colors but this would also look great with only one accent color.

IMG_8380

IMG_8385

IMG_8390


Step 4: Carefully lift the stencil and allow it to dry.

IMG_8397


Step 5: Use string to hang your ornament. Take a picture and show us what your ornaments look like @Stencil1

final