The quickest and most convenient way to get around in Brooklyn is biking. Which means biking culture is constantly expanding in the city. This inspired our Stencil1 bike set and we thought it would be fun to use the stencils on a helmet. Try this with your helmet and show us your results @Stencil1

This is what you’ll need for this how to: Stencil1 Bicycle set, a helmet, stencil brush, multi-surface paint and painter’s tape

Stencil1_BikeHelmet_1

Step 1: Tape one of the bike stencils on the helmet using painter’s tape.

Stencil1_BikeHelmet_2

Step 2: Pour some paint on a plate and dip your stencil brush in the paint. Remember that stenciling is a dry brush technique, which mean using very little paint and applying multiple layers.

Stencil1_BikeHelmet_3

Step 3: Use the brush to stencil the helmet painting in a up-and-down or circular motion.

Stencil1_BikeHelmet_4

Step 4: Lift the stencil and allow the paint to dry to touch.

Stencil1_BikeHelmet_5

Step 5: Repeat the same steps to stencil the other side of the helmet with a different bike.

Stencil1_BikeHelmet_6


Stencil1_BikeHelmet_7

Snap a picture and show us what your helmet look like!


Birch rounds can be used for all wood projects like pedestal to hold candles, vases, and other home décor accents. This one was purchased at Michaels and is their ArtMinds brand. We decoupaged a stenciled skull image on a birch cut using our Stencil1 skull stencil from the Skull 4pack set and ModPodge. Hang it on a wall  or incorporate it into a dark, romantic table setting – it will surely create some fun dinner conversation.

To make this skull decoupage piece, we used Stencil1 skull stencil, a piece of thin paper, paint, a brush, a birch round that we purchased from Michael’s, and modpodge.

Simply place the skull stencil on the piece of thin paper and hold it with your hand. Pour paint onto a plate and use a stencil brush with very little paint to stencil the skull. Allow the paint to dry then cut the image out from the paper using a pair of scissors in the shape of the skull silhouette . Make sure the cutout is smooth on the edges. The next step is to modpodge the back of the cutout skull image. Make sure to coat the image completely all the way to the edges. Place the image in the center of the birch round, then use a dry brush to smooth down the thin paper. Allow the modpodge to dry for two hours. Once it is dry, use the modpodge brush to add one more coat of modpodge on top of the stenciled skull image and then the whole birch cut. This will seal the image perfectly on the wood birch and make it more glossy and polished.

Stencil1_skull_modpodge1Stencil1_skull_modpodge2Stencil1_skull_modpodge3Stencil1_skull_modpodge5Stencil1_skull_modpodge4Stencil1_skull_modpodge5

Voilà! There you have it – a minimal yet interesting piece of art for your home!

photo 1Stencil1_SDA_3


mrstencil10

Placing wood panels in your home is an easy way to make a room look interesting and inviting! They are a great conversation starter when friends and family pay you a visit! Wood panels come ready to install, so almost anyone can install them with ease!

Watch our video, and learn how to stencil wood panels using acrylic paint, a stencil brush, and one of our favorite Stencil1 stencils: sugar skull stencil.

Share your wood panels with us @Stencil1


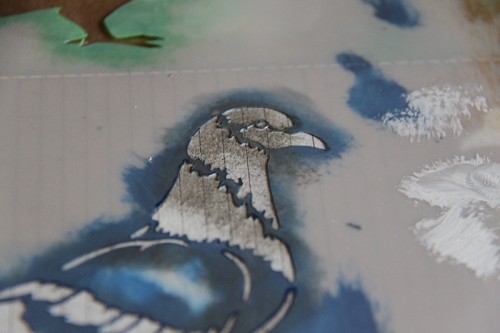
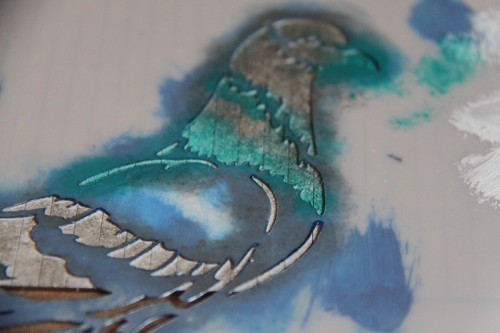
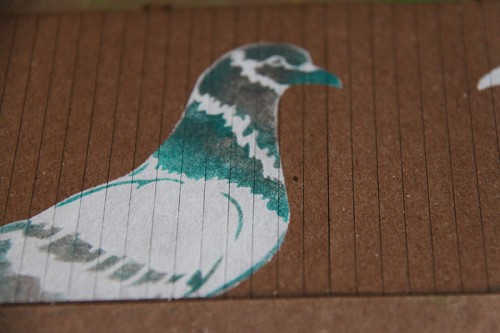
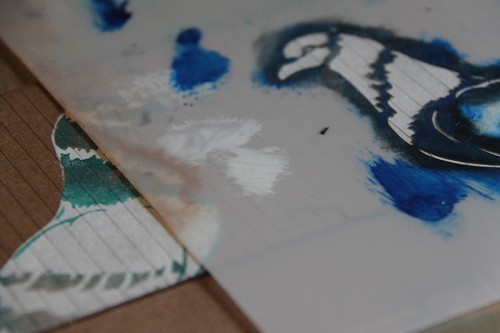
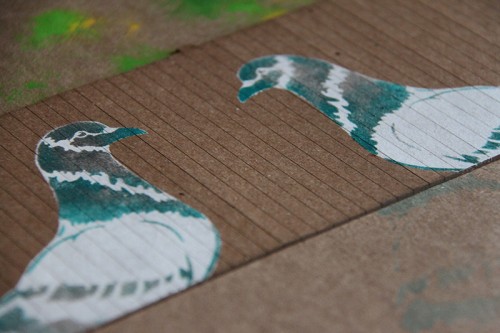
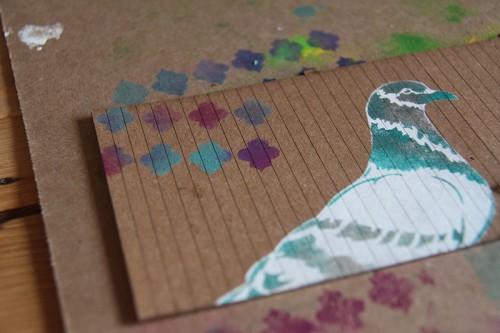
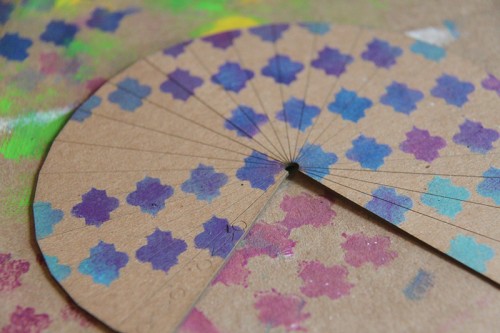
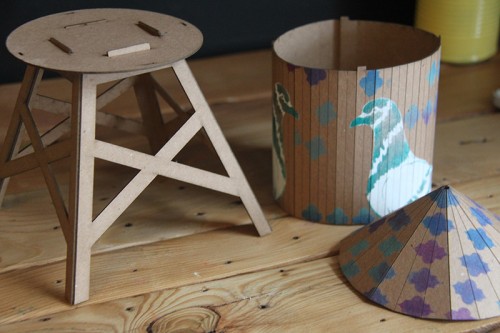
Julis’s shop, Smallhome, is one of out favorite stores to go into. The store is beautifully decorated and they have endless treasures to shop for–most of them from local artists! We bought the small water tower made by Boundless Brooklyn and decided to have some fun with it. The water tower comes in several pieces and you get to assemble it. This is perfect because all the parts are flat, so they are great for stenciling! Take a look at what we made and show us how you transform your water tower @Stencil1

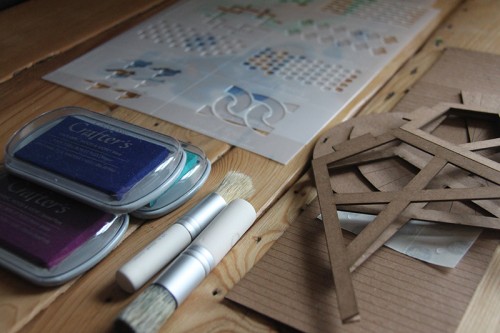
For this how-to you’ll need: A Boundless Brooklyn Water Tower, Stencil1 Pigeon Two-Layer stencil, Stencil1 Pattern 8-Pack Set, ink pads, paint, and stencil brushes.

Stencil1_WaterTower_1

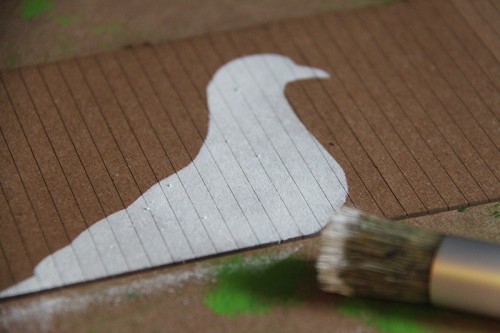
Step 1: Place the first layer of the Pigeon stencil on top of the water tank. You can tape the stencil down using painter’s tape but since this is a flat surface simply holing it with your hand should be fine.

Stencil1_WaterTower_2


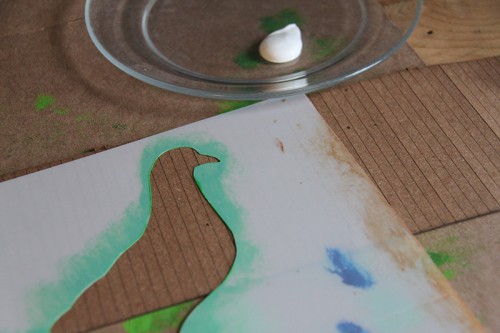
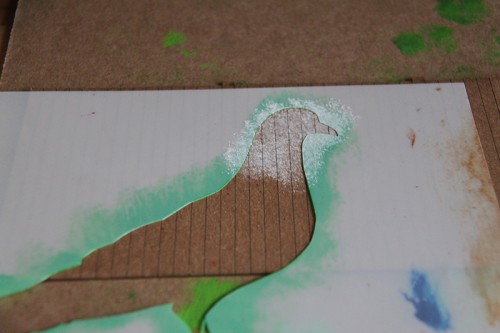
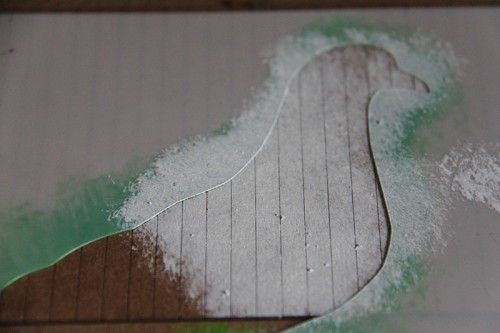
Step 2: Pour paint onto a plate and use the brush to stencil the pigeon. Remember that stenciling is a dry brush technique so use very little paint. You can apply as many layers as you think necessary. Paint using an up and down motion.

Stencil1_WaterTower_3

Stencil1_WaterTower_4

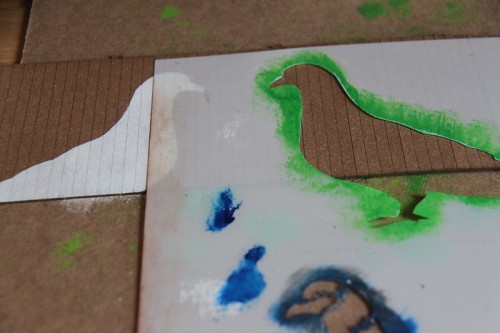
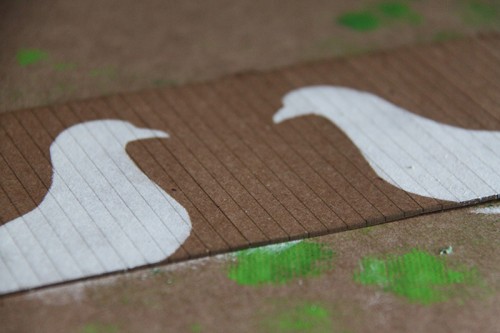
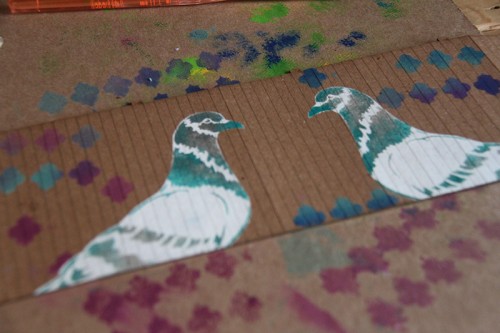
Step 3: Allow the paint to dry. Flip the stencil over (make sure to clean it so that you don’t get the water tank dirty.) Follow step 2 to paint another pigeon that is facing your first pigeon.

Stencil1_WaterTower_5

Stencil1_WaterTower_6

Stencil1_WaterTower_7

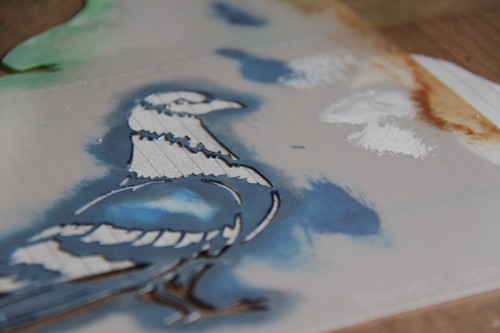
Step 4: Allow the paint to dry. Align the second layer of the pigeon stencil to the layer you already painted.

Stencil1_WaterTower_8

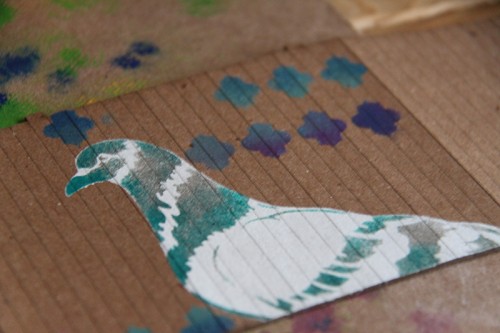
Step 5: Use paint and a stencil brush to paint in the detail the same way you did in step two. We used a combination of gray and turquoise paint. Lift the stencil and allow the paint to dry.

Stencil1_WaterTower_9

Stencil1_WaterTower_10

Stencil1_WaterTower_11

Step 6: Repeat step 5 to paint in the detail for the second pigeon. When you are done painting, lift the stencil and allow the paint to dry.

Stencil1_WaterTower_12

Stencil1_WaterTower_13

Step 7: We loved how the quatrefoil pattern looks with the pigeon. But any pattern would look awesome with the water tank, so feel free to experiment! We stenciled the quatrefoil pattern in random places on the tank.

Stencil1_WaterTower_15

Stencil1_WaterTower_16

Stencil1_WaterTower_17

Step 8: Using the same pattern, we stenciled the roof. However, we made it more uniform than on the tank, this way it looks as if the pattern is falling off the roof and onto the tank.

Stencil1_WaterTower_18

Step 9: Allow all the paint to dry and then assemble your water tank!

Stencil1_WaterTower_19

Stencil1_WaterTower_20


mrstencil13

One of the perks of living in Brooklyn is finding amazing treasures at thrift stores like…beautiful vintage plates! Juxtaposing our street art with the patterns on the plates makes them an awesome art piece for your home.

Watch our video and transform your favorite plates into works of art! Remember to use a mask when spray painting!

Share your plates with us @Stencil1