I’ve posted earlier how Erica Domesek of P.S. – I Made This totally hooked it up by asking me to cut some of my stencil designs for the Sharpie DIY Fashion booth inside the tents at Fashion Week. Well, I went to the booth today to help out and stencil some stuff. I met the Sharpie people and a ton of fashionistas plowing into the booth to give it a go! Betsy Johnson provided a t-shirt that people also could stencil on. Check out all the pictures!
how-to
So I have been seeing a lot of these gradient dyed shirts around lately, many which are NOT CHEAP. I like them but I always keep thinking, I could do that! I thought, ok, I’ll dip a shirt in dye but them I thought there is a more controlled way to do this. I used my Stencil1 Sprayers to really get that gradual change in color from dark to light! So I laid down this shirt that is light blue with dark trim. I decided to keep it simple and make the gradient blue as well. Starting at the bottom, I sprayed all along the bottom several layers, then moved upward doing a little less, then up more and even less,etc…Once it dries I will heat seal it with an iron and have a new summer shirt!

The gradient trend

My Stencil1 sprayer gradient shirt!
So rather than watch tv last nite, I went to my studio for a few hours to make some prints. Earlier in the day I purchased some archival sheets of paper that are about 18″x24″, about $1.90 each. If you want to make some art for your walls rather than stencil your walls, this is a fun project. To do prints like this, you will need stencils, ink sprays, a stencil brush, cardboard, and scrap paper.
So I laid out a canvas tarp to catch any overspray and piece of cardboard to allow the paper to lay flat. I knew I would mostly be using my Stencil1 Sprays to make the print. These are fabric inks that are acid-free and archival. They are also non-aerosol! I had two very different concepts, one being a colorful explosion of stencils and the other more of an anti-war poster. What can I say, I’m a Gemini.

Archival print by Ed Roth of Stencil1

Archival print by Ed Roth of Stencil1
It’s a quick and easy process. I basically placed my stencils where I wanted them, masked out the areas outside the stencil so my overspray would paint my paper, I used scrap paper, and then sprayed lightly into the stencil area. When done with one stencil area, I carefully lifted the stencil up, still keeping it level with the surface so no excess paint on the stencil surface would drip onto my print. To get the excess paint off the stencil you can place a piece of paper on top of the stencil to soak up that excess paint, and in doing so you are also making a reverse print on that paper! That’s a tip from my gal pal Elaine.
As for the lettering in the banner in the war print, I did use a stencil brush and our Old English Stencil letters. What’s nice about doing lettering with the stencils is the mylar we use is semi transparent so you can see exactly where you want to align your type.
I proceeded to place stencils where I thought they would look nice, choose different colors, and continued this way. Creating your own composition is the fun part! Symmetrical or not, color choices, placement, it all comes from you.
So If you decide to make some poster prints using our stencils, please send us images and we wil post to the blog! Thanks!
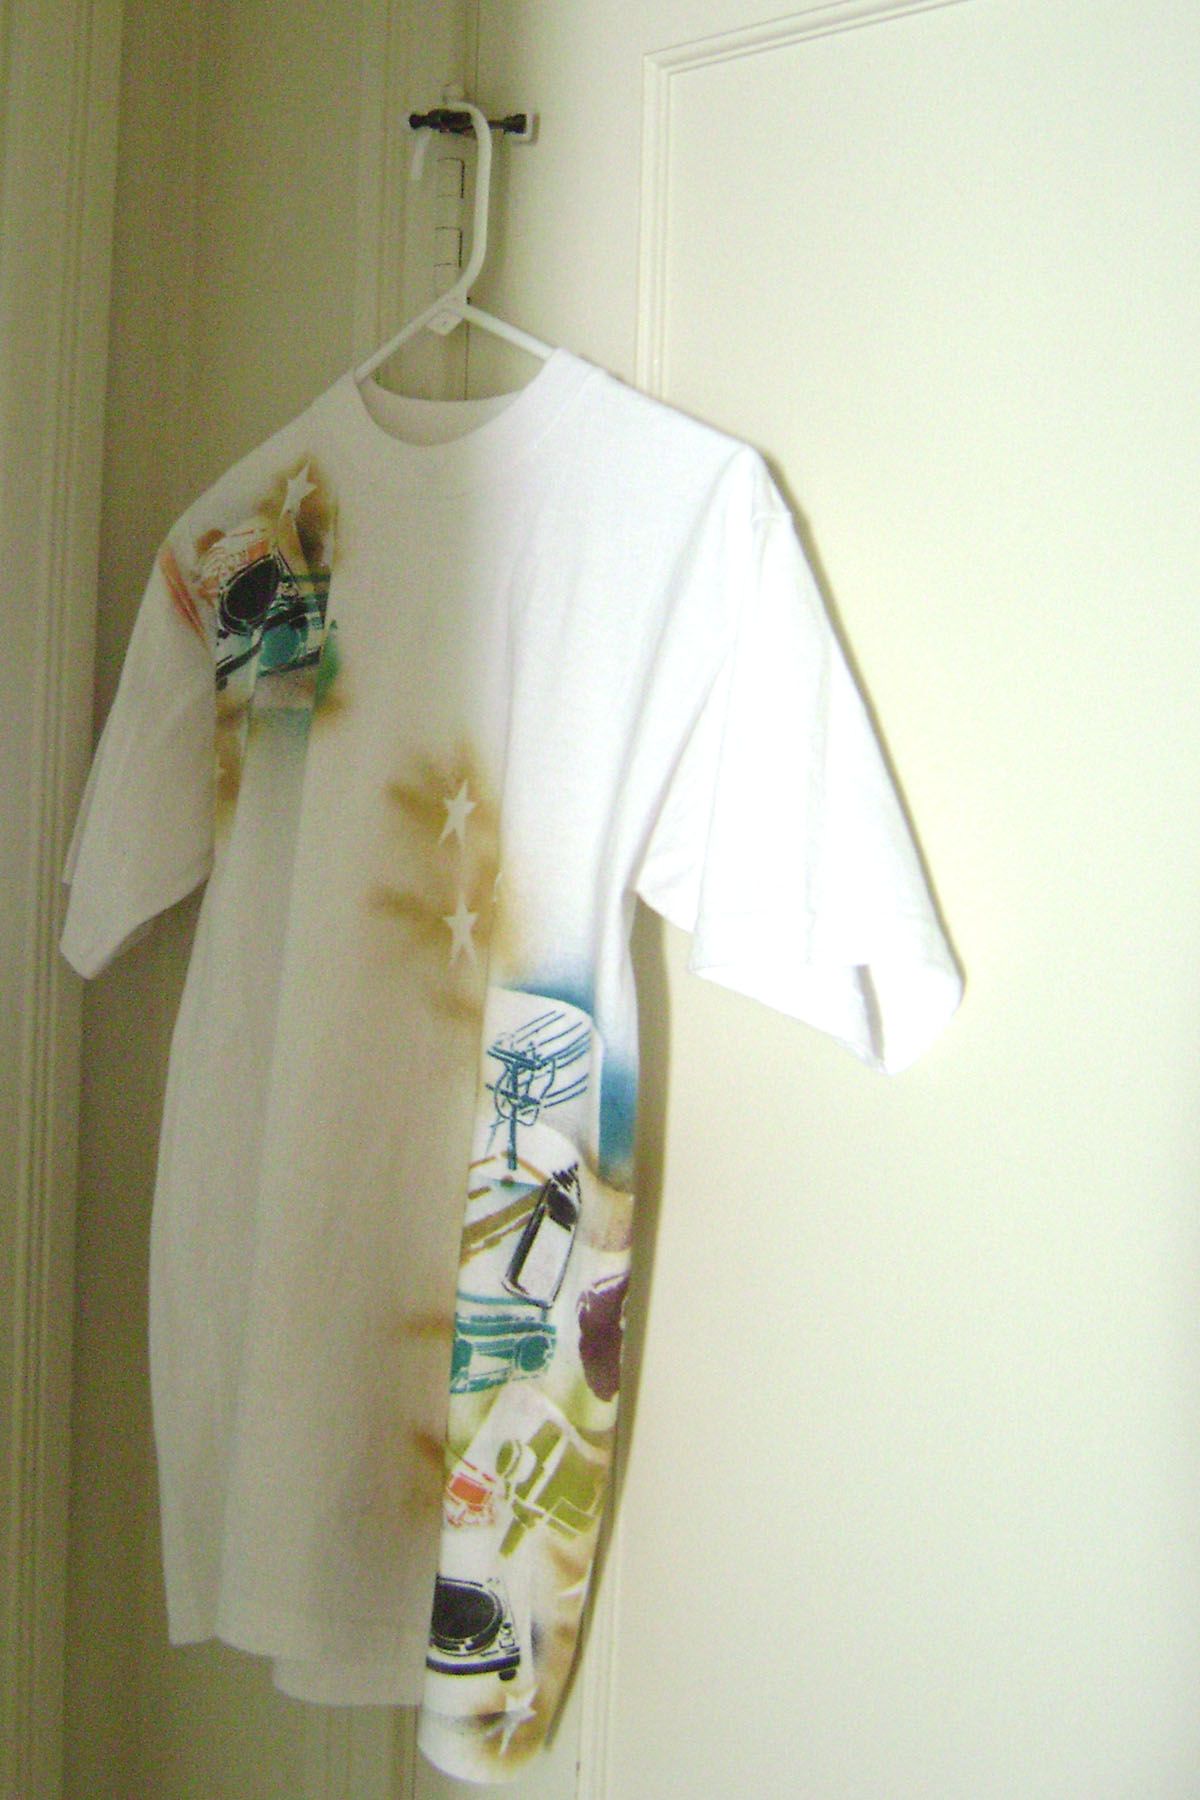
Well, I’m having a hum drum kind of day..trying to decide which project to work on, not really feeling like working on any..boo hoo. So from the archives of my hard drive…a shirt I did when I first got my Stencil 1 stencils.
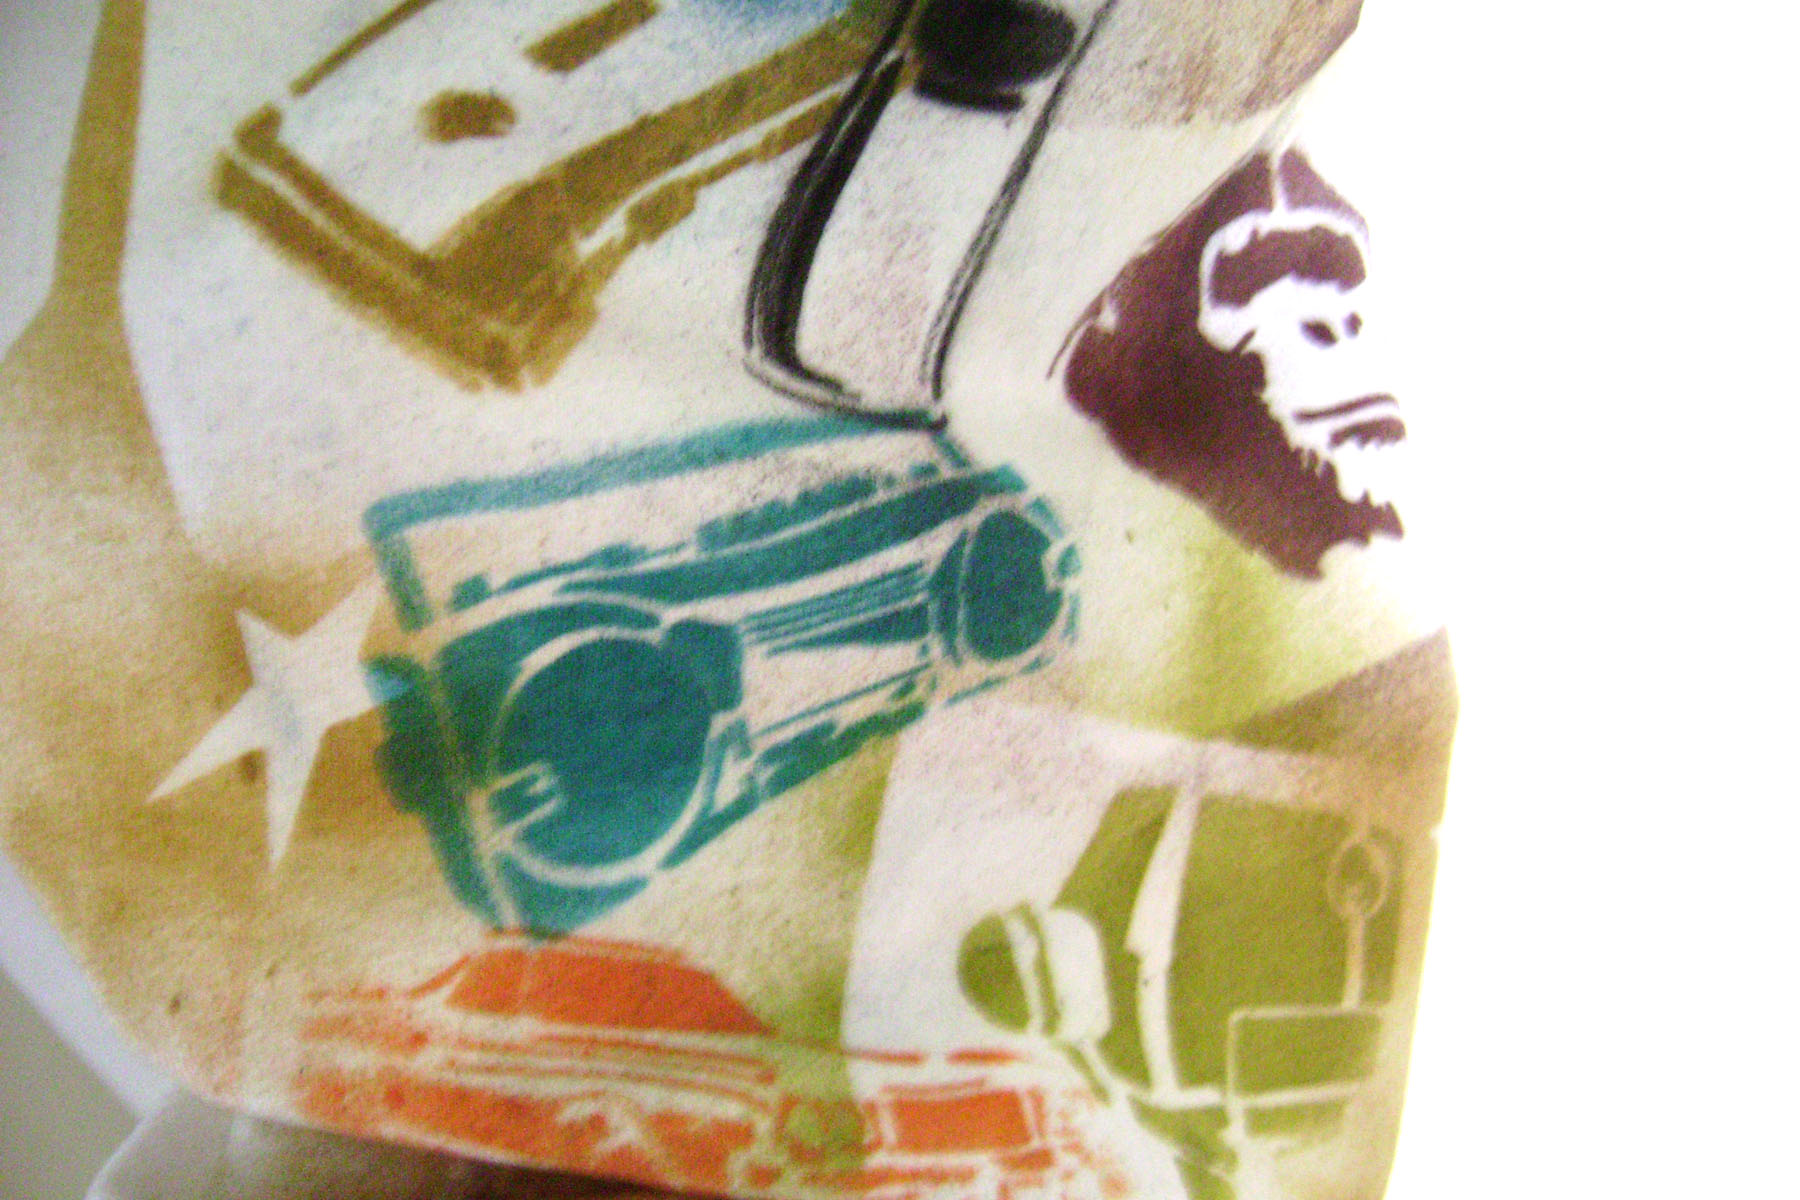
This was a plain white t from the thrift shop..added some of the mini images, like the chimp, the turntable, the awesome Ranchero! Sprayed with the Stencil 1 sprayers in a host of different colors..nice thing, too, the colors don’t bleed into each other. So, you can spray all of these layers..and then heat set the whole shirt.
Here’s a close-up of the layers;
Want to see a Video of the making of a shirt, a gift card and the all important canvas bag sprayed with the Stencil 1 Sprays? Here Ed and I put a nice little gift together: Watch Video Here

Martha Stewart and Cynthia Nixon meet Stencil1
Ok, well maybe not Goth but when Stencil1 was featured on Martha Stewart, she painted the Jolly Roger stencil. Martha+Skulls=I was loving this odd Juxtaposition! Apparently, Martha LOVES Halloween as do I. So I sat in the audience as guest star Cynthia Nixon and Martha made some two-process Halloween shirts. I showed the producers a bleaching technique using Clorox Bleach Pens that I learned from Syrie at TreeHouse Brooklyn and they loved it. It was very inspiring and we are grateful for the appearance. Watch the 2 part how-to video! Stencil1 on Martha