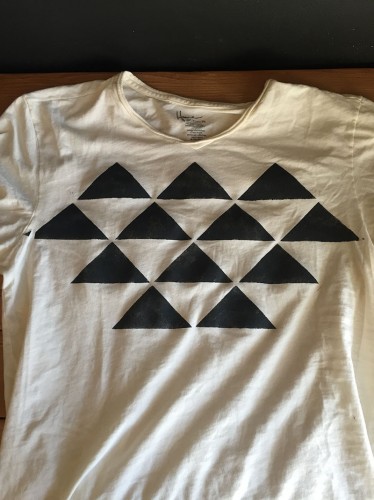
Patterns are a big source of inspiration for our stencil designs. One of the best things about our Product of the Year 11 x 11 Repeat Pattern Stencils is their versatility. They are great for stenciling walls but can also be used for a lot of other things, including making awesome t-shirts! Choose a stencil, grab some paint, and make a one of a kind t-shirt.
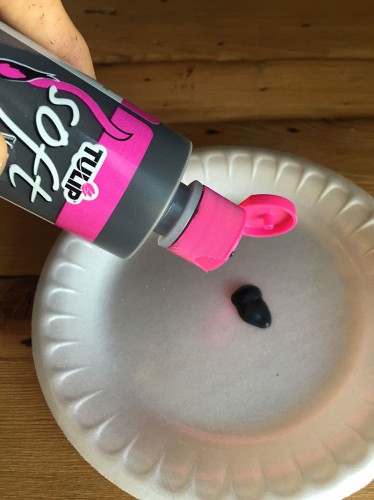
Things you’ll need to make this shirt: Stencil1 Staggered Triangle Stencil, Tulip Soft Fabric Paint, a t-shirt, a cardboard insert, brushes, painter’s tape (optional).
Step 1: We stenciled this shirt twice because we wanted a symmetrical look. Start by placing the stencil on either the left or right side of the shirt. You can use painter’s tape to secure the edges of the stencil. This will also help you avoid painting over the edges. Since you will only be stenciling the shirt twice, you can simply align the rectangles to continue the pattern. However, you can use the registration marks by putting a pice of tape underneath the corners of the stencil and filling in the triangles with a pencil.
Step 2: Start stenciling by painting with a dry-brush technique. This means using very little paint and adding several layers. We wanted a distressed look so we didn’t add a lot of layers of paint.
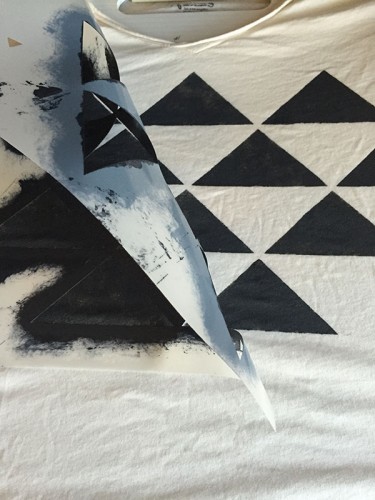
Step 3: Once you are done stenciling this side, lift the stencil and allow the paint to dry to touch. Shift the stencil to the other side and align it with the registration marks or the triangles on the side you already stenciled. Repeat step 2.
Step 3: Once you are done, allow the paint to fully dry and heat seal it by ironing the shirt (you can use a piece of cloth in between the shirt and your iron to protect your iron). Snap a picture of it and share it with us @Stencil1


