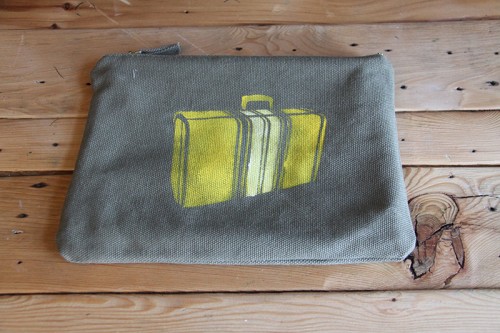
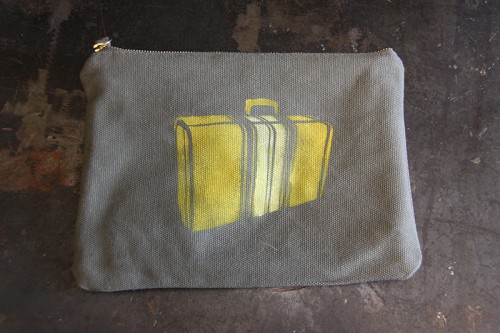
Everyone loves to travel. You get to meet new people, see new places, taste new food and form new memories. Our Stencil1 Travel Kit was inspired by our love for travel, so we used the suitcase stencil to personalize this gorgeous toiletry bag from West Elm.
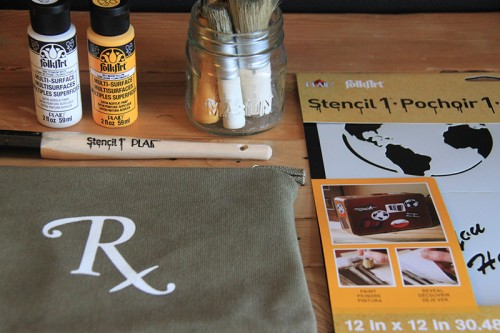
For this how-to you’ll need: Stencil1 Travel Kit, West Elm toiletry bag, multi-surface paint, stencil brushes and a painter’s tape.
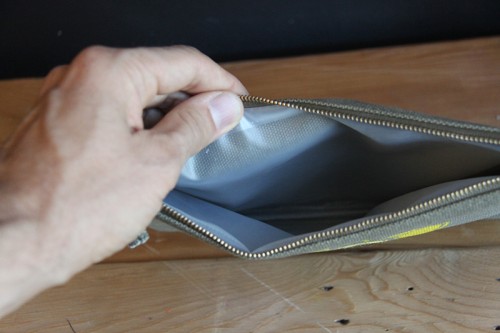
We love this West Elm toiletry bag because it is waterproof. You don’t have to worry about something spilling and soaking through the bag. And, as an added bonus, you don’t have to put a cardboard insert inside to stencil it!
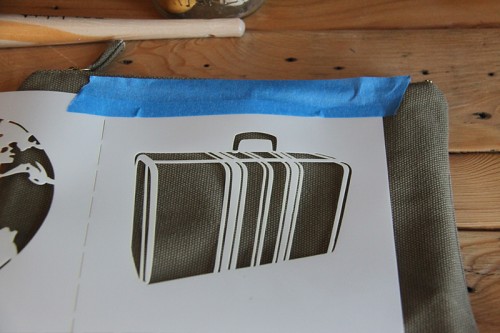
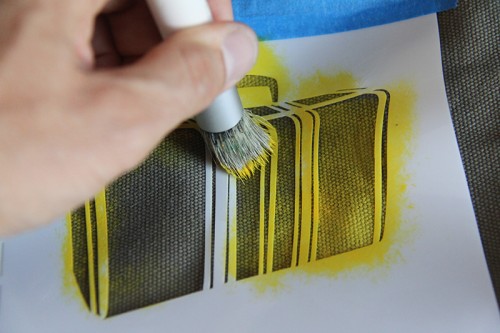
Step 1: Place the stencil on the bag and tape it down with painter’s tape. You can also spray the back of it with a low-tack adhesive.
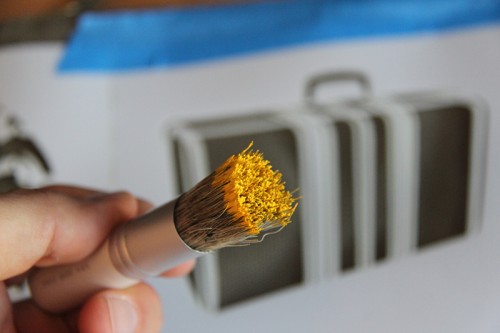
Step 2: Pour some pain on a plate (or any hard surface). Dip your paint brush in the paint. Remember that stenciling is a dry brush technique. This means that you only need a little bit of paint to stencil.
Step 3: Use the brush to stencil the toiletry bag. We used moon yellow FolkArt paint. Paint with a circular motion or an up-and-down dabbing motion.
Step 4: Lift the stencil and allow the paint to dry to touch. Heat seal it with an iron.
Show us what your travel kit looks like! @Stencil1
