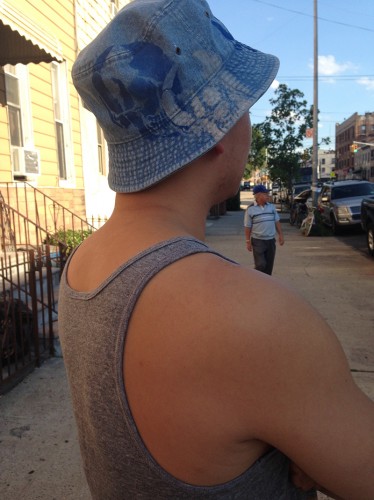
Bucket hats are back and have been trending in Brooklyn lately. Dig yours out of the closet and make it unique by stenciling it!
For this how-to you’ll need: A bucket hat, Stencil1 Skull set, multi-surface paint, stencil brushes, low-tack spray adhesive, tape.
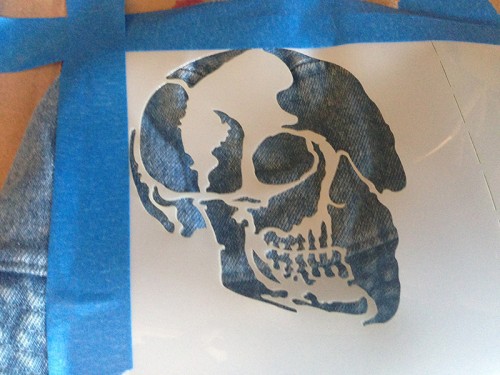
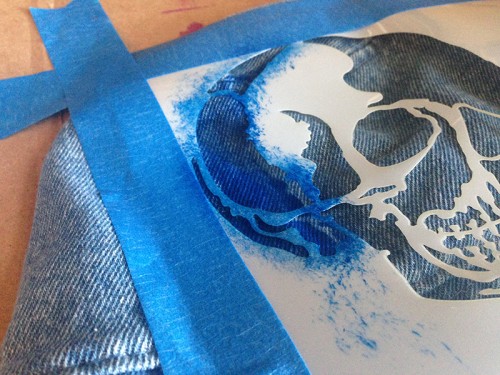
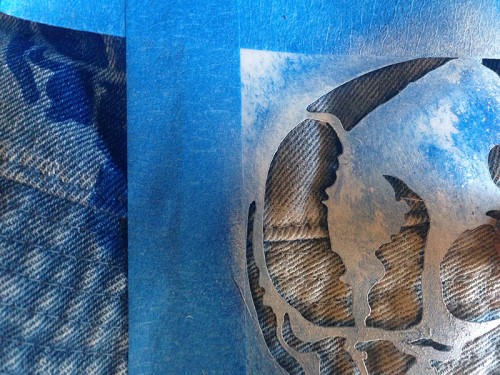
Step 1: Fold the hat so you have a flat surface to work on. Spray the back of the stencil with the adhesive (make sure to do this in a well ventilated room). Place the stencil on the hat. Since it can be difficult to stencil on cloth that is not completely flat, taping down the edges with painter’s tape will secure the stencil and make it easier to paint.
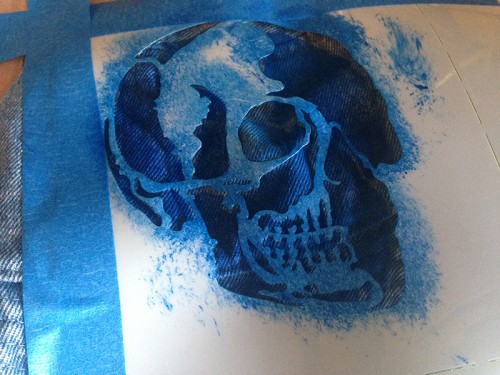
Step 2: Put some paint on a plate and use your brush to begin stenciling. Remember to use a dry brush technique. This means using very little paint and applying several coats. Paint using an up and down motion.
Step 3: Remove the stencil and allow the paint to dry to touch.
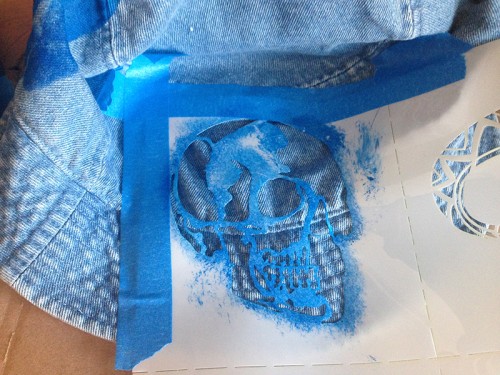
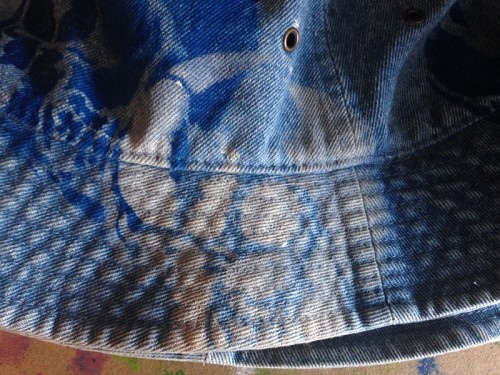
Step 4: Fold the hat so that another section is exposed as flat as possible. Repeat steps 1 through 3 to stencil another skull. We stenciled a total of 3 skulls, two blue and one white.
For the white skull, we used an extra dry brush to give it more of a vintage look.
Step 5: Heat seal the paint with an iron. Snap a picture of your hat and share it with us @Stencil1.

