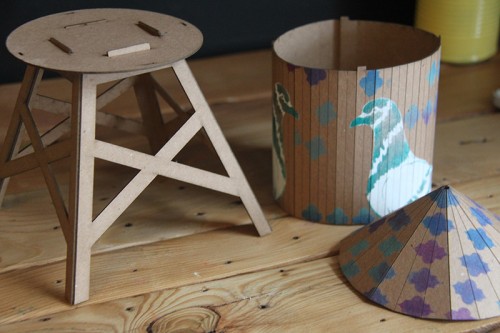
Julis’s shop, Smallhome, is one of out favorite stores to go into. The store is beautifully decorated and they have endless treasures to shop for–most of them from local artists! We bought the small water tower made by Boundless Brooklyn and decided to have some fun with it. The water tower comes in several pieces and you get to assemble it. This is perfect because all the parts are flat, so they are great for stenciling! Take a look at what we made and show us how you transform your water tower @Stencil1
For this how-to you’ll need: A Boundless Brooklyn Water Tower, Stencil1 Pigeon Two-Layer stencil, Stencil1 Pattern 8-Pack Set, ink pads, paint, and stencil brushes.
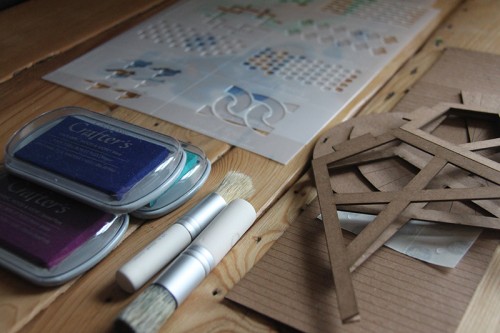
Step 1: Place the first layer of the Pigeon stencil on top of the water tank. You can tape the stencil down using painter’s tape but since this is a flat surface simply holing it with your hand should be fine.
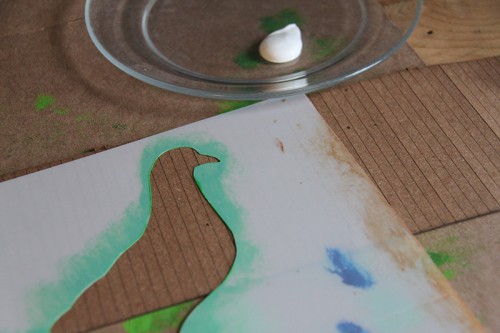
Step 2: Pour paint onto a plate and use the brush to stencil the pigeon. Remember that stenciling is a dry brush technique so use very little paint. You can apply as many layers as you think necessary. Paint using an up and down motion.
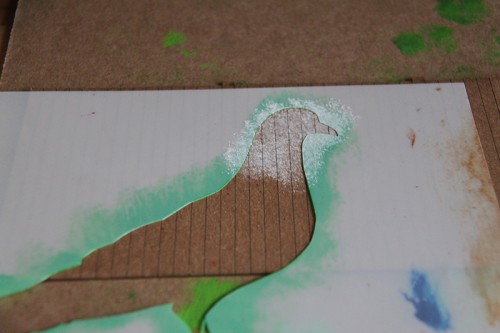
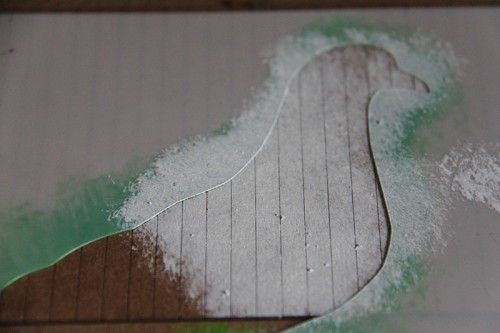
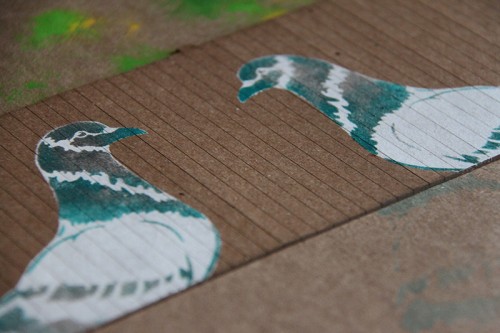
Step 3: Allow the paint to dry. Flip the stencil over (make sure to clean it so that you don’t get the water tank dirty.) Follow step 2 to paint another pigeon that is facing your first pigeon.
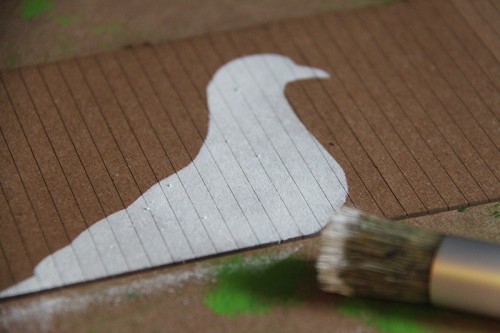
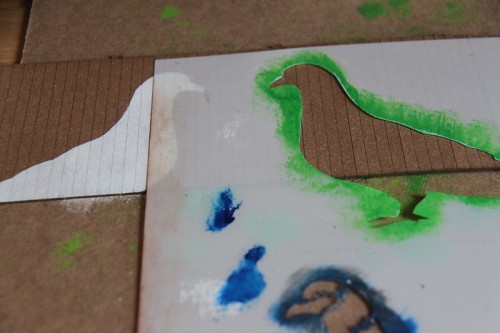
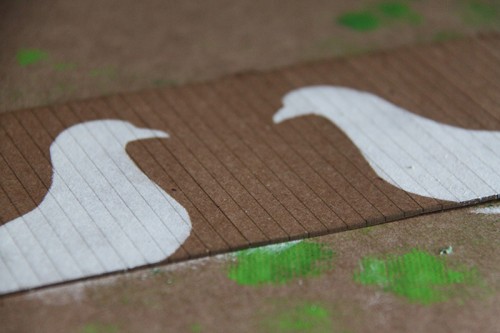
Step 4: Allow the paint to dry. Align the second layer of the pigeon stencil to the layer you already painted.
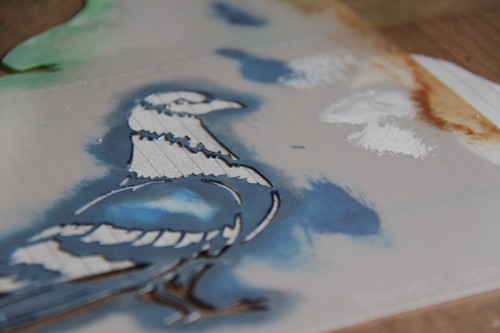
Step 5: Use paint and a stencil brush to paint in the detail the same way you did in step two. We used a combination of gray and turquoise paint. Lift the stencil and allow the paint to dry.
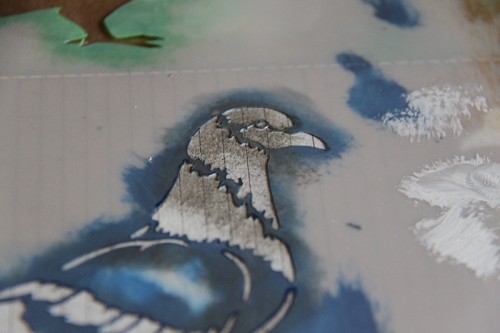
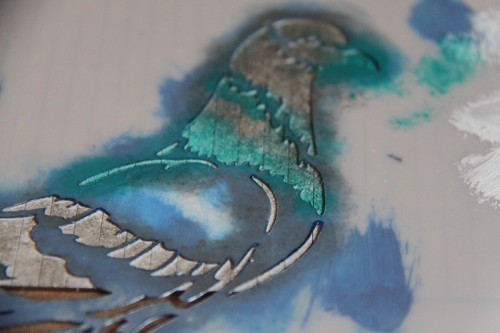
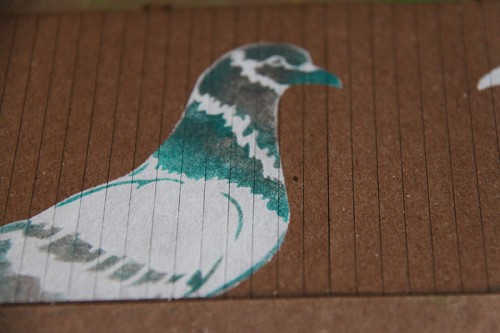
Step 6: Repeat step 5 to paint in the detail for the second pigeon. When you are done painting, lift the stencil and allow the paint to dry.
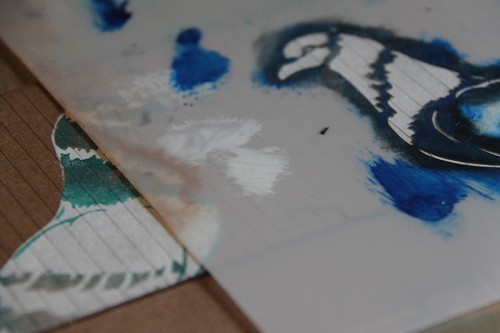
Step 7: We loved how the quatrefoil pattern looks with the pigeon. But any pattern would look awesome with the water tank, so feel free to experiment! We stenciled the quatrefoil pattern in random places on the tank.
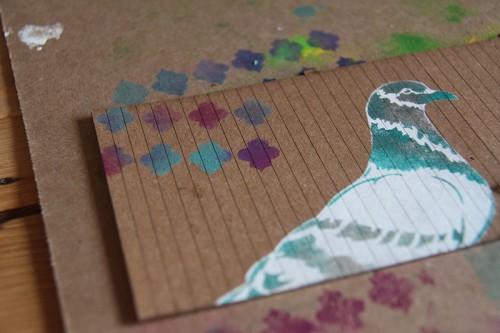
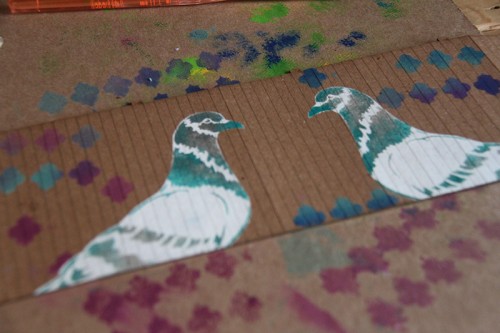
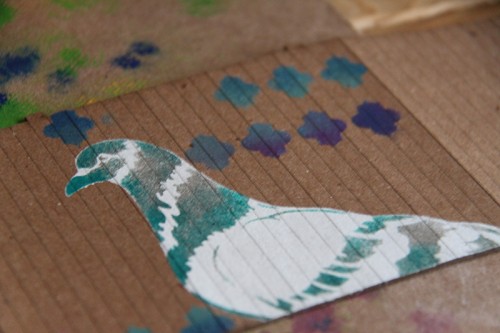
Step 8: Using the same pattern, we stenciled the roof. However, we made it more uniform than on the tank, this way it looks as if the pattern is falling off the roof and onto the tank.
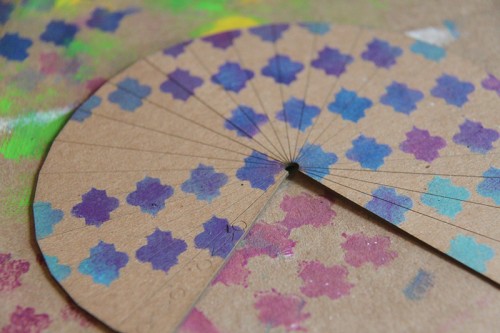
Step 9: Allow all the paint to dry and then assemble your water tank!
