“The littlest thing makes a big difference,” according to GQ. Check out how we transformed this plain pocket square into a fashionable pocket square in honor of Clarks 65th anniversary of the original Desert Boot.

DSC01667

Things you will need: A plain pocket square, masking tape, brush and paint, and a Stencil1 stencil.

DSC01612

Step 1. Gather your materials. Place the stencil in your desired location on the pocket square. Here, we used a custom stencil we designed specially for Clarks. You can try using one of our Small Single Image stencils or Small Pattern stencils. Tip: Add some masking tape to the edges of the stencil to make sure it stays in place.

DSC01616

Step 2. Load up your brush with the color of your choice and start painting away! Make sure to dab excess paint off the brush in order to prevent any bleeding.

DSC01632

Step 3. Carefully remove the stencil off the pocket square. Move the stencil to another area of the pocket square and repeat!

DSC01644

DSC01655

Step 4. Once your pocket square is completely dry, fold it so it fits nicely into your pocket. (See tutorial below)

DSC01657

And that’s it! This little pocket square will add a huge fashion statement to your wardrobe.

DSC01663

Click here for a tutorial on how to fold a pocket square.
For more inspiration for your pocket square, check out The GQ Guide to Pocket Squares.

Take a picture and share it with us @Stencil1!


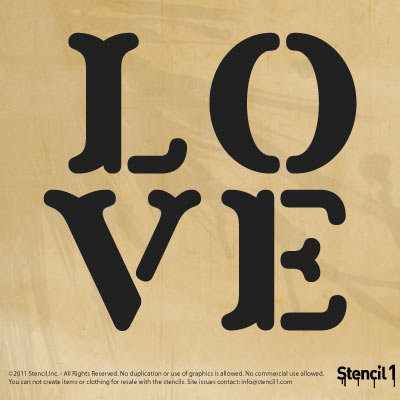
We would LOVE to see what you make with our LOVE stencil!

Download for FREE and create something and when you are ready to show the world your creation, please #Stencil1 and @Stencil1

LOVE_Stencil1


LOVE_from_Stencil1


Please note: This design is copyright protected and not for creating items for resale.


IMG_1125

We fell in love with the DIY Nautical Headboard Marisa Pawelko from Modern Surrealist created using our stencils. Now, Marisa is back with another awesome DIY t-shirt just in time for the Day of the Dead and Halloween. Check out how she uses our La Calavera stencil, along with other little embellishments, and made this t-shirt pop here!

IMG_2078

Great job as always, Marisa! Marisa has a whole bunch of DIY’s for you to try out. Check out her blog for more tutorials and inspiration!

How are you going to dress up this Halloween? Create your own twist using our huge variety of Halloween stencils!

Take a picture and share with us at @Stencil1!


11

Day of the Dead is approaching, why not make some beautiful watercolor cards for the occasion? We used a Crayola watercolor paint set, watercolor paper cards, and our Stencil1 sugar skull stencil. Here’s how we did it:

Lay out all your materials. Be sure to use watercolor paint and watercolor paper.

1

Using some low tack spray adhesive, we positioned the sugar skull stencil on the card. Only use a little spray and let it dry 60 seconds before laying it on the card.

2

We wanted the sugar skull design to be colorful so we used many colors in the watercolor set. Choose a color and start by dipping your brush in water. You then activate a color by swirling the wet brush in the dry paint. For stenciling, we recommend you get the paint a little thick by swirling a bit and then dab the brush on a paper towel. Too wet an application may make the watercolor paint need too much.

3

Apply your first color, we made all heart shapes red to start.

5

Some blue teeth…

6

Some park purple outlines…

7

Ready to reveal!

8

Here it is!

9

Please post your creations using #stencil1 and @stencil1

10


To prepare for the month of Halloween, it’s time to start decorating those pumpkins! However, instead of the basic Jack-o’-Lanterns, maybe it’s time to try something different…we created this distressed damask and skeleton pumpkin. Here’s how!
DSC01554

Gather all of your supplies: pumpkin, stencil brushes, paint, and stencils

We kept it simple and on-trend with black and white paint for our Damask Traditional & Skeleton stencils. We also have two different brushes to use on each of our colors. Since the skeleton is 8.5″ x 11″ and the Damask is 11″ x 11″, we have a large pumpkin to paint on. But we always encourage creativity, so the choice of paint and how many colors you want to use is up to you.  If you choose from our smaller stencil collection, you can definitely create a miniature version of the Jack-o’-Stencil.

DSC01527

Place your stencil and start painting. We started with the Damask stencil and painted it black. We repeated this three times around the pumpkin, leaving space for the skeleton between each damask.

DSC01530 DSC01537

Once that dried, we placed the Skeleton stencil and used white paint. Again it’s your choice in what paint and stencils you want to decorate your pumpkin with, we have a variety of choices in our Halloween collection!

DSC01541


DSC01543

Repeat the skeleton three times as well.

Finally, your Jack-o’-Stencil is complete and it’s time to show it off!DSC01547

We encourage  you to please take a picture and share your finished work with us by tagging @Stencil1 #Stencil1