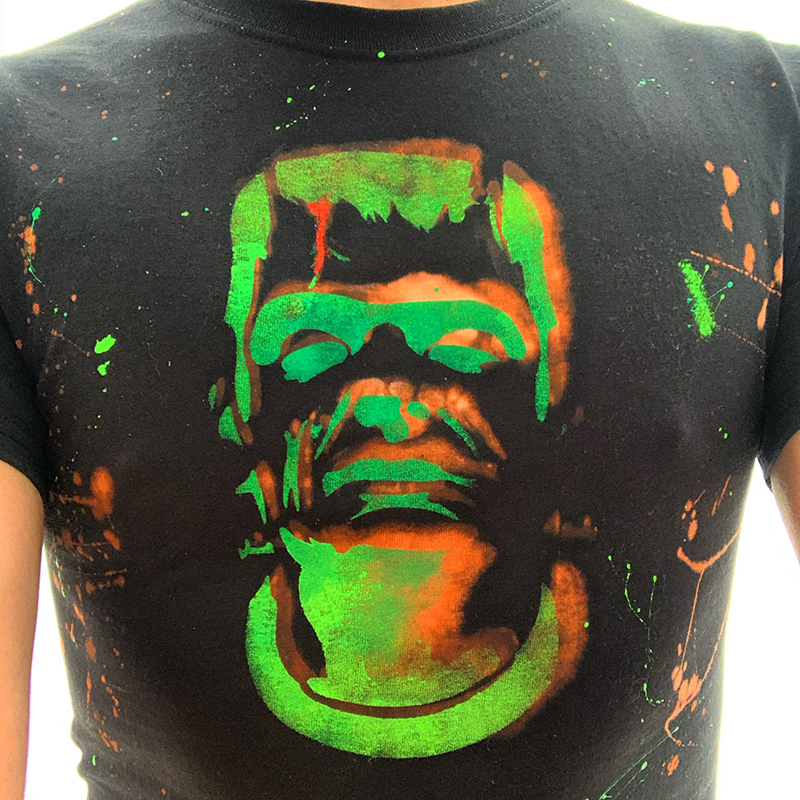
Halloween is a few month away, but I know many of you are already getting for it. Follow this Halloween how-to to throw something spooky into your wardrobe! And this DIY bleached shirt isn’t just for Halloween, it creates what is called a discharge print and can be used with any stencil design.
What you will need:
- Frankenstein Stencil (8.5″x11″)
- Bleach liquid gel
- A black shirt
- Green Fabric Paint
- A plate you can wash or disposable plate
- Stencil brush

I recommend using bleach liquid gel. It’s a paste so it has a thicker consistency like paint. Don’t use liquid bleach.

Use a plate to pour a small amount of the bleach gel.

Place your stencil in the center portion of your shirt. Begin using your brush to start applying the bleaching gel.

You can using the rest of the gel that was left over in your plate to add a splatter look to your Halloween shirt.

Use a small amount to achieve this effect or you’ll have more of a stain rather than a splatter effect.

Once the bleach has lifted the color to your liking, you can dry it with a hair dryer.
Then place the stencil about 1/4″ offset from where you did the bleach layer to do a new painted layer. Using a tapping brushing motion, paint the stencil in with a vibrant green fabric paint. I used the classic green to paint Frankenstein on the shirt. I used a darker green around his eyes.

Then, I used my brush to add stylistic brush strokes around the stenciled Frankenstein. You can cover the Frankenstein image to avoid getting paint on it.

Now, let your shirt dry completely. Once dry, heat seal the design with an iron. Place a dish towel between your painted design and the iron, iron for 1 minute in each area.

You’re now ready to rock a Halloween vibe. Share your Stencil1 bleached shirts with us @Stencil1


