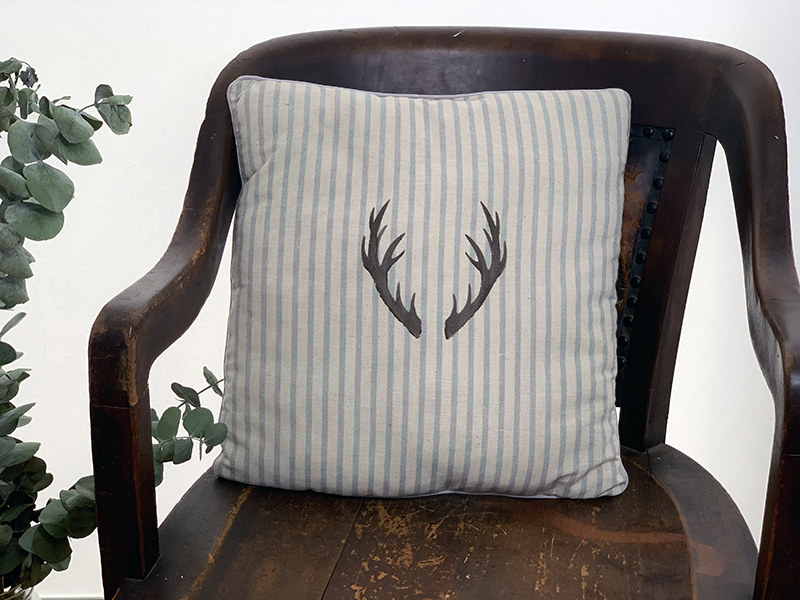
Our new Antlers stencil is sure to be a Fall/Winter favorite or great for anyone into that Farmhouse or Country Chic decor. This how to shows you the steps to stencil a pillow. What you will need for this projects:
• A Pillow
• Measuring tape
• Fabric paint
• Corsiva Font 2 Inch Stencil (optional)

Measure your pillow to find the center and placed a piece of tape to mark that point. This helps with placement of the stencil. You may have noticed my pillow is stuffed, this is NOT recommended, it’s much easier on a flat pillowcase but this pillow came this way with no zipper.

Apply some spray adhesive to the back and let it dry for 60 seconds

Next, place the stencil centered on the pillow. Our mylar is semi-transparent which helps with placement.

Tape it in place to secure it and also so you don’t paint outside the stencil.

Very little fabric paint is needed on the brush.

you can tap the paint in to the open areas or use a brush motion in this case in one direction so the flaps of the stencil stay down.

Apply 2-3 layers, letting the paint dry in between applications. Patience is helpful to get a nice clean result!

Here is the antlers stenciled on the pillow.

A final shot. You can add a Monogram in the middle of the antlers with our Corsiva 2 inch letter stencil set. What will you use the Antlers stencil for? Share your creations with is @Stencil1


