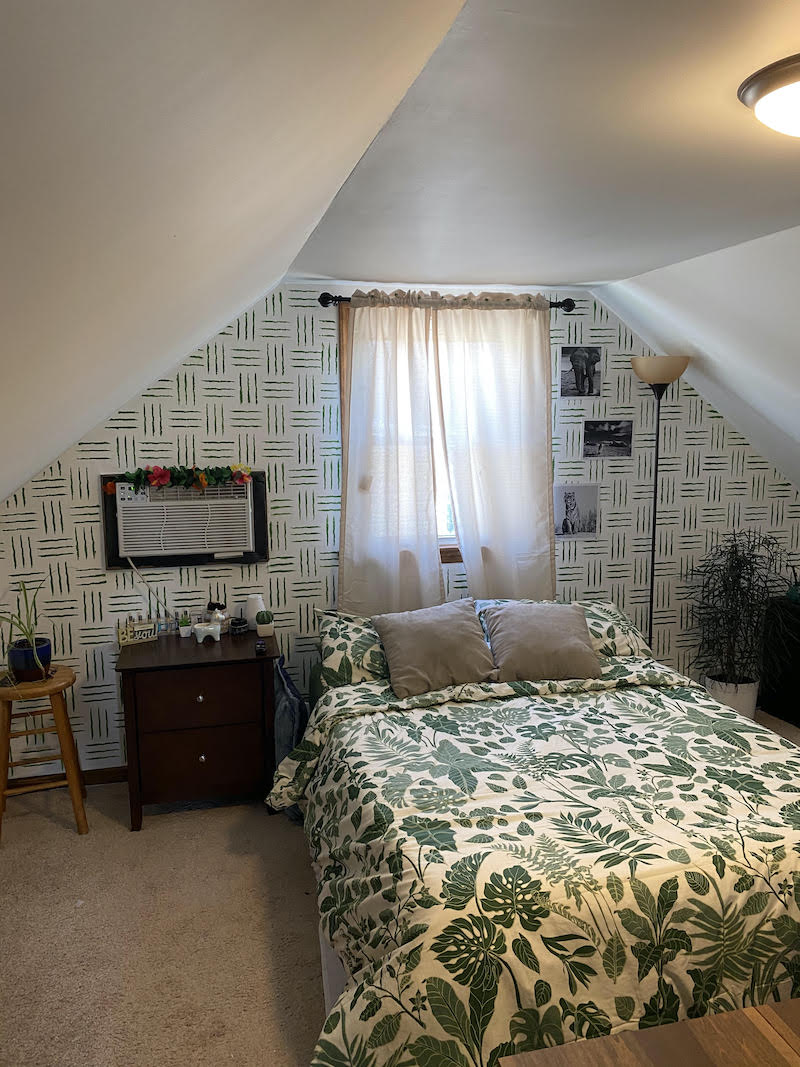
Using a patterned stencil is a great way to add dimension to any room, a beautiful focal point. Charley contributed this how to as she made over her attic bedroom. We love it!
What You Will Need:
- Weave Scratch Repeat Pattern Stencil (11″x11″)
- Painters tape
- Level
- Pencil
- Stencil brushes
- Painter’s tray
- Paint
- Touch up brushes
- Background color paint

First, mark the registration points with small pieces of painters tape and color in the triangles. This will help make sure the stencil is lined up correctly and the tape is for easy removal.

Then, tape your stencil in place. If you have a big wall and multiple stencils, you can cut the overlap area of the stencils and tape them together. This will help the process go way faster. When you have your stencil in place, pour the paint in the tray and dip the brush in. Make sure to dab off the extra paint on the other side of the tray. If there is too much paint on the brush it will bleed through the stencil.

When you start painting, Make sure to dab the brush on the stencil and do not paint with strokes. Also, If you don’t cut the overlap areas of the stencils, make sure to jump around when painting so you don’t transfer any paint on the wall.

To go around a window or a wall slant, you can tape the stencil in that angle, the stencils are flexible.. This will require more tape to keep it flat. You can also cut the stencil to make this easier.


When done painting, remove the tape and look at your design. If you have any imperfections, you can paint over them with your original wall color and touch up brush.

Now you’re all done and ready to show off your new wall! Share your creations with Stencil1 @stencil1


