If you are like me, you like to add a creative touch to anything as common as a birdhouse. Follow this birdhouse makeover tutorial to invite the feathery friends into the holiday spirit.
You will need a birdhouse, black and white acrylic paint, flat paint brush, stencil brushes, paper plates, painter’s tape, and optional low tack spray adhesive. Here is a list of the stencils used for this makeover:
- Snowflakes Stencil-small (5.75″x6″)
- Pine Branch Stencil-small (5.75″x6″)
- Snowy Pine Stencil-small (5.75″x6″)
- Bird Silhouettes Stencil 6-pack

For this project, you can grab a wooden birdhouse from Target.

Give your birdhouse two coats of white paint.

Position the snowflakes stencils to make sure they cover the roof of the birdhouse.

Grab your stencil brush and lightly dip it in black paint, and start painting the snowflake. We committed to a black and white palette for this project, giving it a modern look.

Tape can be used to hold the stencil in place as well as low tack spray adhesive. The tape also helps to block paint from going outside the stencil borders.

Let the paint dry before trying to add more snowflakes. You don’t want to rush and get paint smudges.

Place the stencil again and see where you want to add more snowflakes.

Do the other side of the roof to create a snowfall look on your birdhouse.

I made a cut to the pine branch stencil to be able to make it fit around the birdhouse peg. The stencils are flexible and you can bend it around shapes like this but I went for a cut!

Grab your paintbrush and paint the branch.

Let it dry. If you would like to, you can add more branches.

Place the pine tree stencil on the back of the birdhouse and secure it with some tape. I was thrilled that the pine tree fit so well here! Since the stencils are flexible, you can tape down areas, notice the bending shape?

You’re welcome to add more pine trees or keep it minimal.

Let it dry.

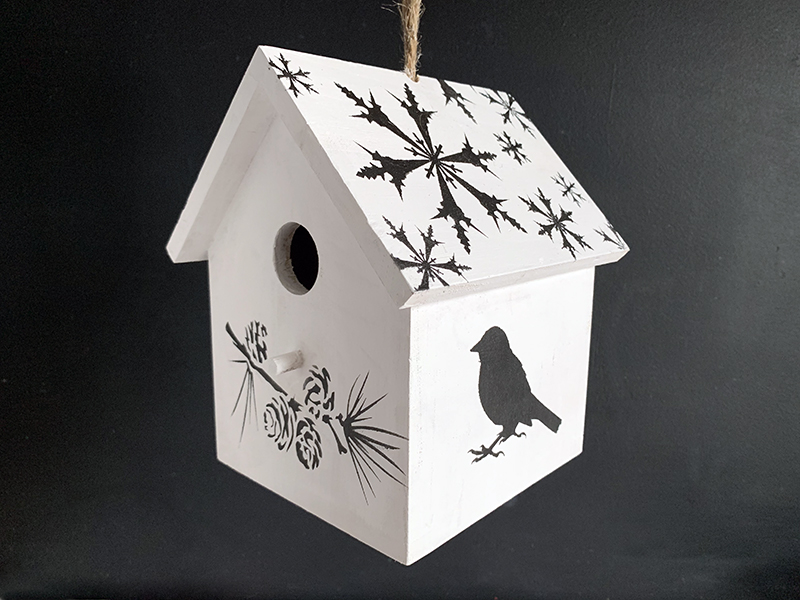
I picked one of the designs from the bird silhouettes 6-pack set. I originally wanted to use a cardinal and make it the one red element in an otherwise black-and-white world but I loved how the simple black and white design was looking.

I put a bird on it, then I washed the stencil and put the birds reverse image on the other side so both face forward.

When you’re done stenciling, let it dry. Hang it outside as a gift for a bird or gift it to a friend for the holidays! Please share your birdhouse creations with us @stencil1

