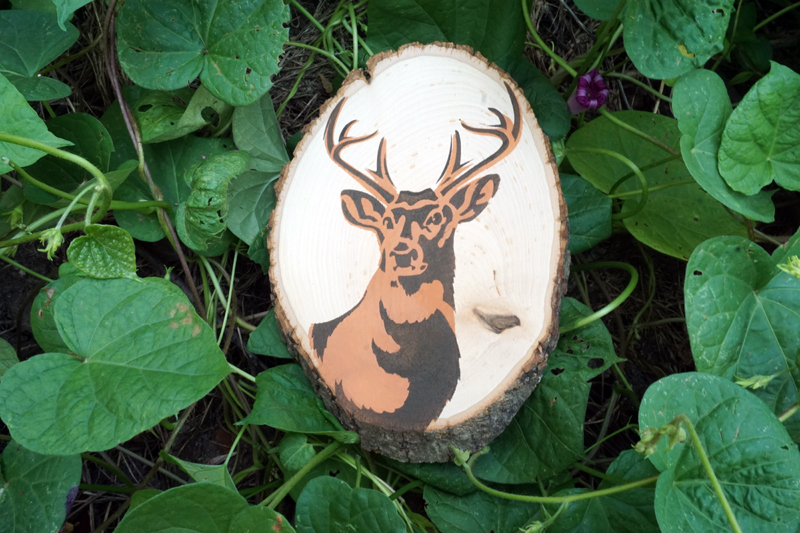

This DIY uses our two-layer Antlered Deer stencil. These two layer stencils consisting of a silhouette layer and a detailed layer really give your project more depth. Here’s how to do it:
We did another Target haul and picked up these awesome wood rounds that are a part of Target’s Handmade Modern collection. The deer fits beautifully on these slabs!

A beautiful, natural canvas.

First, place your silhouette stencil where you would like the design to appear.


Using a flat-head stencil brush, paint in the silhouette. Use an up and down motion to get the edge details and don’t overload the brush, stenciling is a dry brush technique.
The silhouette should be painted a lighter color than the second detailed layer.

This has such a tasteful and modern look to it, you could stop here and hang this on your wall!

Once the silhouette layer is dry you can line up and paint the detailed layer.

We used a dark brown for the details.

Reveal your work once it’s all filled in.

Here is your proud antlered deer!

Please share your creations with us at @stencil1


